| PM | PJA |
RDM | DAM | PFM | BFM | BCM |
|
|
|
|
|
|
|
A project's Location tab allows you to add the following information about key project locations:
Here is a snap shot of how the GIS integration is displayed on your Project Location tab. 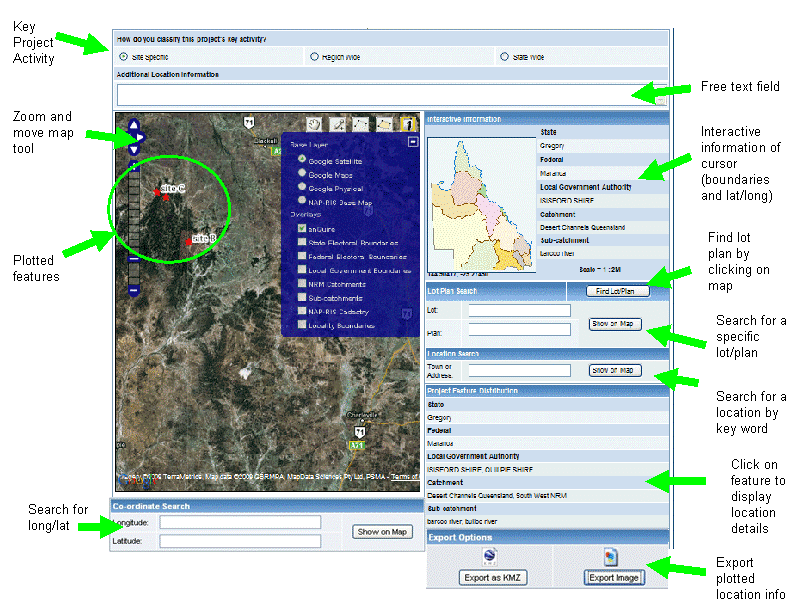

How do you categorise your key project activity?
Site(s) specific; all site specific projects must have one primary project location. This primary project location can be viewed on any map view of projects.
Region wide
State wide
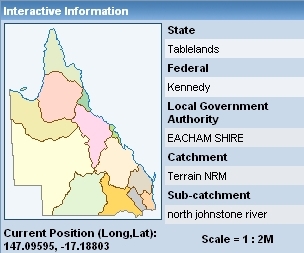
As you hover over the Queensland graphic map, the various regional group area names will display. When you select a regional area, the map zooms to view that particular area.
The cursor's latitude and longitude displays dynamically in the Current Position area as it moves around the rendered map. When you click on the rendered map, the boundaries the cursor's point sits within, displays in the Interactive Information table.
Enter in a location name (town/city/street) then select the Find button.
If found, the Map will zoom to the location area. 
The more specific you are, the more accurate your result will be.
Enter co-ordinates of longitude and latitude to show this location on the map.

|
Enter lot/ plan location to show this location on the map OR click "Find Lot/Plan" and use mouse cursor on map.

|
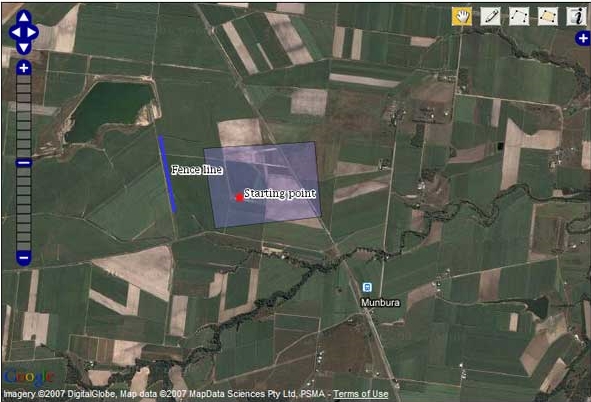
Zoom and move tool

Use the vertical zoom in ![]() and out
and out ![]() tool to view the area required.
tool to view the area required.
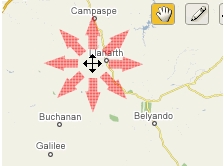
The arrows move the map left and right, and up and down.
You can also double click on a spot to zoom in.
HINT: Hold down Shift and use your mouse to drag over the area you want to view.
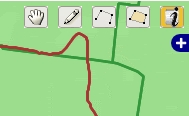
The tool buttons

Pan
The Pan tool allows you to move the map in all directions. Select the hand symbol, then use your mouse to shift map view.
Draw point
With this tool you can mark specific points on the map and label them. Select the pencil symbol then location the position you want to create a point. Click the mouse over this point.

Draw line; double click to complete line
The line tool allows you to draw lines with as many points as required. Double click to finish the line.

Draw polygon 5; double click to complete polygon

You can draw a polygon with as many points as required. Remember to double click to complete the polygon.
To draw curved lines, hold down the Shift button as you draw.
Cursor location information
The (i)nformation tool is used to select a feature/location and read the interactive information on the particular item. Select Feature information is available in Internet Explorer 7 and Mozilla Firefox browsers only.
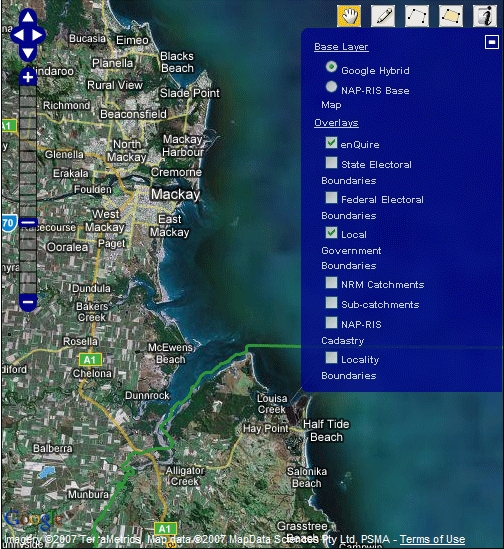
Select the + to list out layer information.
Base layer
Google Hybrid
NAP-RIS Base Map
Overlays
Enquire
State Electoral Boundaries
Federal Electoral Boundaries
Local Government Boundaries
NRM Catchments
Sub-catchments
NAP-RIS Cadastry
Locality Boundaries
Use the checkbox to select layer/s to view. You can view one Base layer with multiple Overlays.
As project features are added and imported, they will be listed within the All Project Features list. From this list you can delete and edit the feature details and coordinates. Select a feature to zoom to it within the map.

|
You can add project features and plotted areas to the map.
Instructions to add a project feature
If your project has been categorised as a Site Specific project, the first feature you draw is the Primary Project Location. This Primary Project Location will display on higher level maps. i.e. Program map view of all Projects and Portfolio view of all Projects.
1. Pan to the area you want to add the feature.
2. Select either the Draw Dot icon, Draw Line icon, or Draw Polygon icon.

3. Mark the area on the map using the mouse button.
4. For a line or polygon, double click to complete the feature.
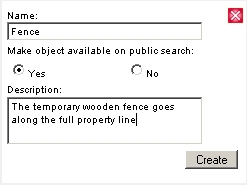
5. Label the feature and add a feature description. Select Create.
|
|---|
6. Mark as Public/Private. (Community Partnerships and Australian Government can view Public Project Primary locations)
7. Select Save. You can edit the project feature details at any stage.
Instructions to edit the feature
1. Locate the feature in the Project Features table.
2. Select the pencil icon in the Edit column.

|
3. Make the changes to the relevant fields.

|
4. Select Save.
Instructions to delete the feature
1. Locate the feature in the Project Features table.
2. Select the checkbox in the Delete column.

|
3. Select the Save Changes button.
NB: primary features in site specific projects cannot be deleted. Changing the classification of key activity to region wide or state wide will allow this deletion.
Rules on ZIP file formatting
1. Go to the Import Shapefile table located towards the bottom of the Location tab page .

|
2. Select the Browse button.
3. Locate the zip file you want to import.
The Selected Feature table lists the feature currently selected.
1. Select the (i)icon.

2. Locate the feature you want to select.
3. Click on the feature.
4. The feature information will display in the Select Feature table. (Information will not display in this table if you are using Internet Explorer version 6).
5. From here you can edit or delete the feature.
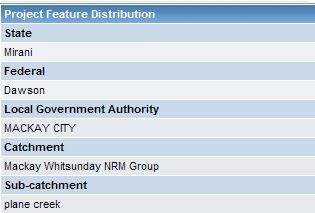
The Project feature distribution table lists all the areas your project has features within. i.e. it lists all the areas your Project effects.
|

|
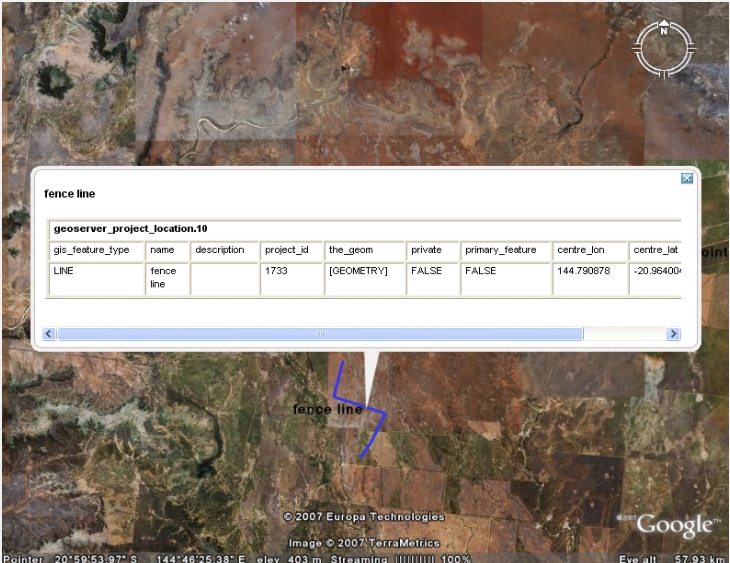
KMZ - This is for Google earth and ArcView. Your Project feature data will be exported. You must have downloaded and installed Google Earth for this functionality.
|
|---|
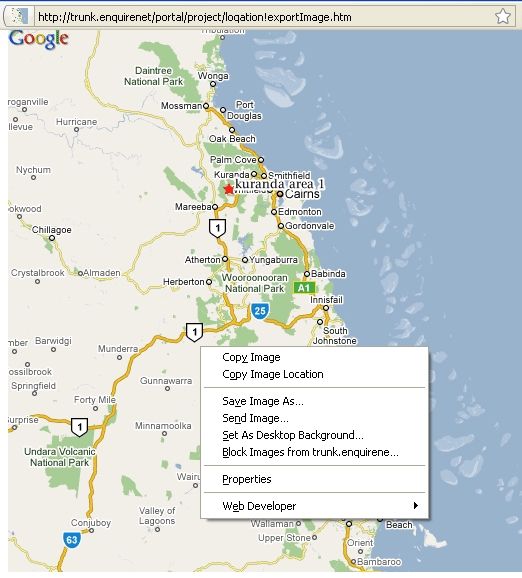
Export Image - opens the map in a new window. Right mouse click on the map will give options to save, copy and view properties.
|
The Project Address component allows you to record additional geographical and statistical information about a project's address. The Project Address component must be added to the project template before it can be used to record and validate information.
Address validation is only available if requested as part of your organisation’s implementation of Enquire. If you would like this to be activated or require more information, please contact the Enquire Help Desk on +61 7 3911 1245 or support@Enquire.net.au.
This service can only validate addresses in Queensland, Australia using the following information:
When an address is validated, additional address details will be added to the project. These are:
1. Open the relevant project and select the Location tab.
2. Select the Edit Project Address button.
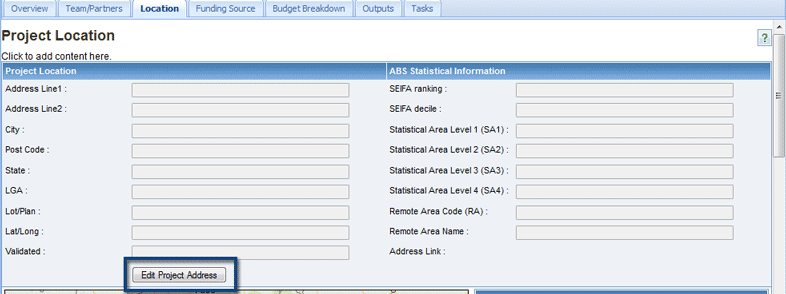
3. Enter the project's address and select the Validate Address button.

You may receive an error if the address is not in the validation service's database:

If the address is incomplete and matches addresses in the validation service's database, you may be prompted to select from a list of similar addresses. Double click on the matching address or check the address for accuracy.
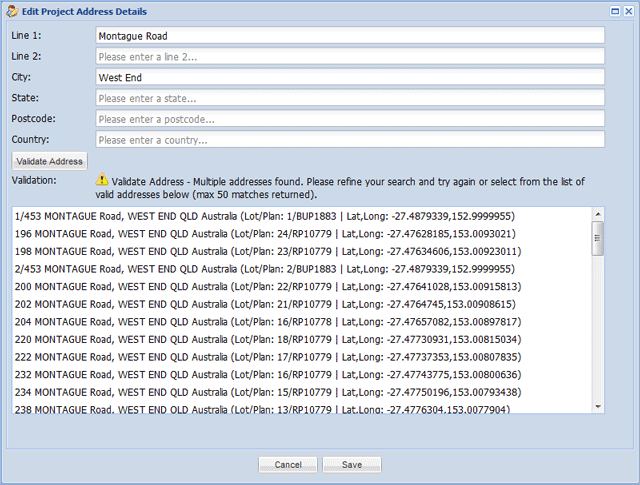
4. Select Save to save the validated address.
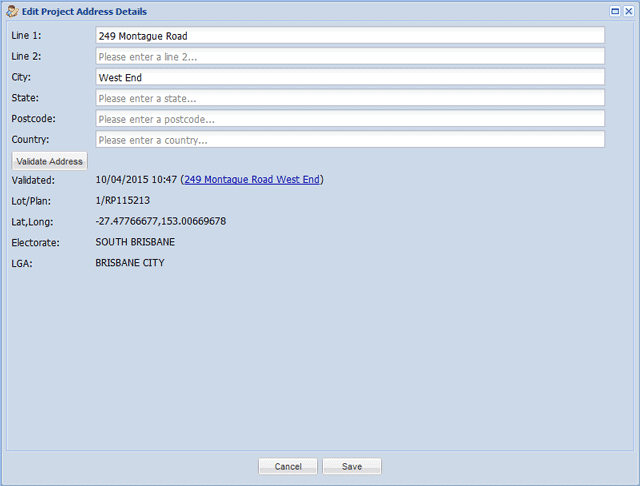
The project's address details will now be recorded..
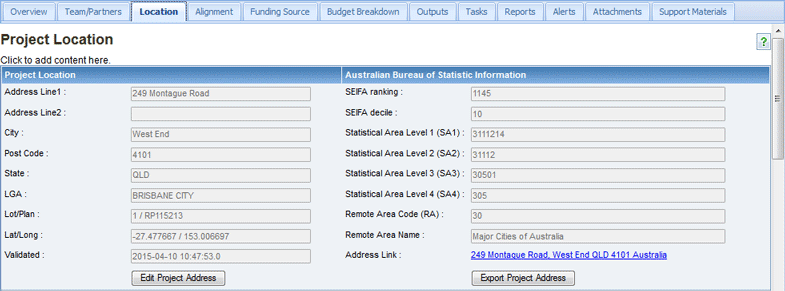
The Project Address details can also be exported as an Excel spreadsheet.
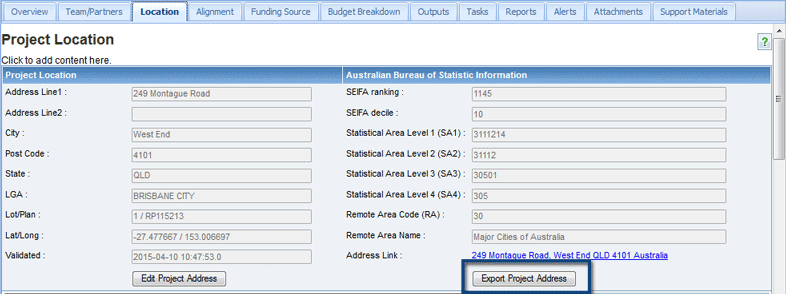
1. Open the relevant project and select the Location tab.
2. Select the Export Project Address button.
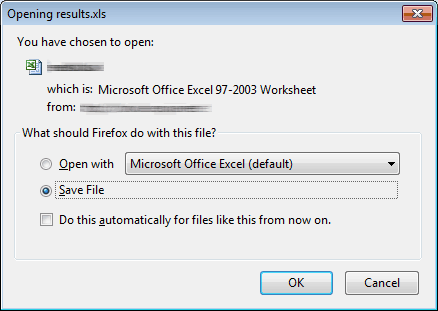
3. Open or save the file to a location on your computer.
| What can I do if my map is not displaying on the Location tab |