Project Attachments
| PM | PJA |
RDM | DAM | PFM | BCM | BFM | RCO |
|
|
|
|
|
|
|
|
|
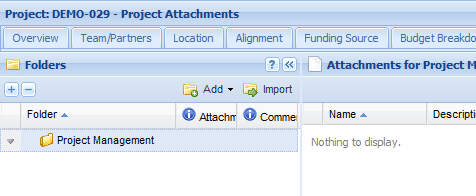
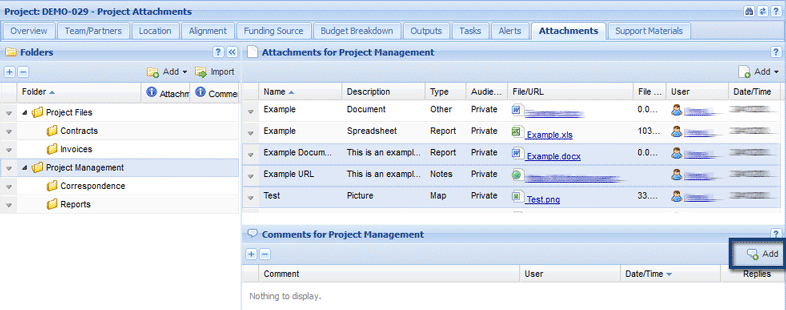
The Attachments tab allows users to upload and manage supporting documents such as reports and maps. For example, you may wish to upload contracts signed, invoices from contractors or completed and approved application forms.
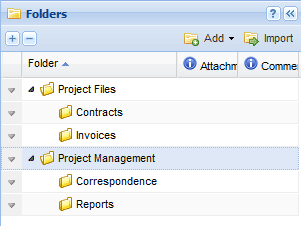
In the following examples, we will create a root folder called Project Management with two folders (children) that sit within it called Reports and Correspondence. We will also import a root folder called Project Files which has the following children Invoices and Contracts.
Attachment Tab Rules
1. Open the relevant Project and select the Attachments tab.
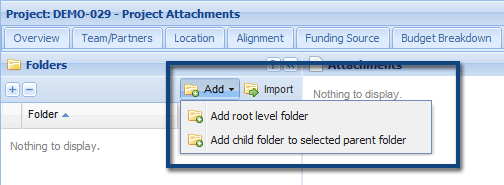
2. In the Folders section, select Add button and then select the Add root level folder option.
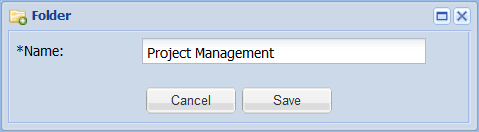
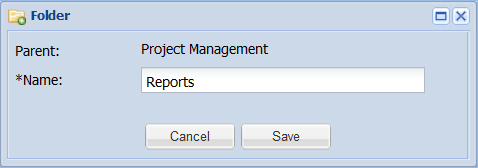
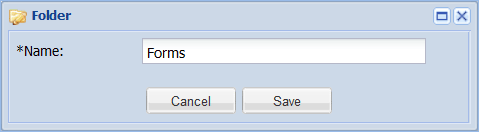
3. Enter the folder name and then select Save to create the folder.
1. Select the parent folder you wish to add a child to.
There are two ways to create a child folder:
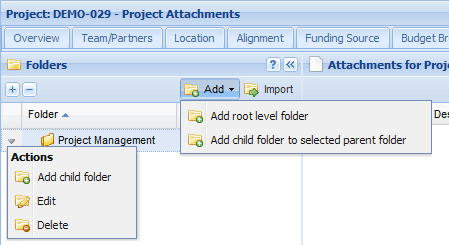
2. Enter the name of your folder and select Save to create the folder.
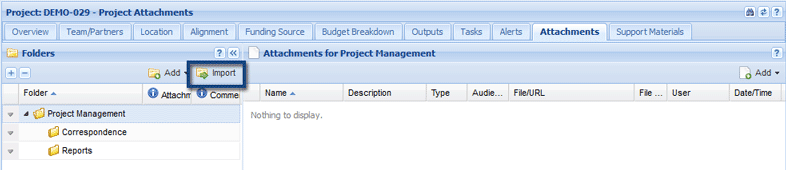
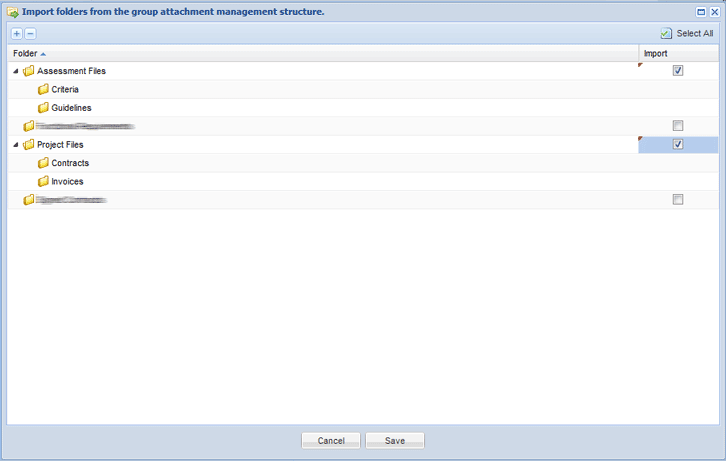
Your organisation may have determined a pre-defined folder structure which can be uploaded into a project. In this example, we are importing a root folder called Project Files with two folders (children) that sit within called Invoices and Contracts. The child folders will be automatically imported with the root.
Note: You will not be able to import a folder structure if you have created a root folder with the same name. For example, if a folder called Project Files had already been created, you cannot import the Project Files folder structure. You could rename the existing folder or manually create the folder structure.
1. Open the relevant Project and select the Attachments tab.
2. In the Folders section, select the Import button.
3. Select the check box next to the relevant root folder and then select Save. Multiple folder structures can be imported at once.
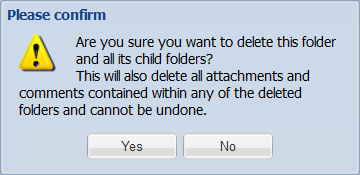
Note: Deleting any folder will also delete any child folders, attachments and comments contained within.
1. Open the relevant Project and select the Attachments tab.
2. In the Folders section, select the down arrow next to the relevant folder.
If editing, select Edit from the menu and make the relevant changes. Select Save to retain the changes.
If deleting, select Delete from the menu and select Yes when prompted.

If the folder is a root folder, you will receive an additional prompt. Select Yes to confirm the deletion.
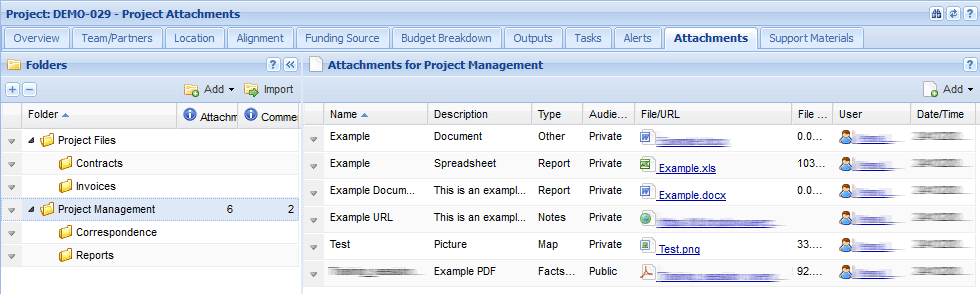
1. Open the relevant Project and select the Attachments tab.
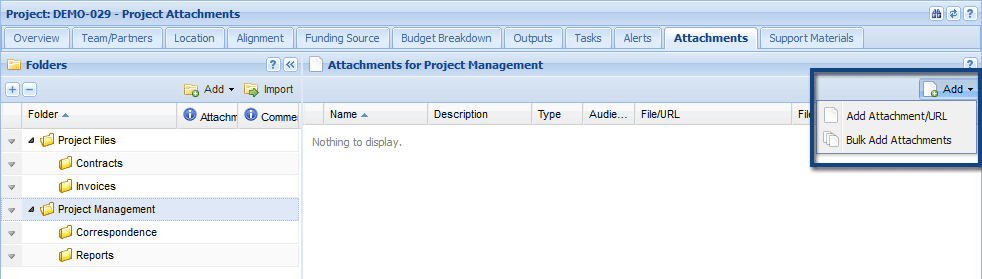
2. Select the folder you wish to add the attachment to. In this example, we will be uploading an attachment to the Project Management folder.
3. In the Attachments section, select the Add Attachment/URL Add menu and then select the Add Attachment/URL option.
4. Fill in the mandatory details:
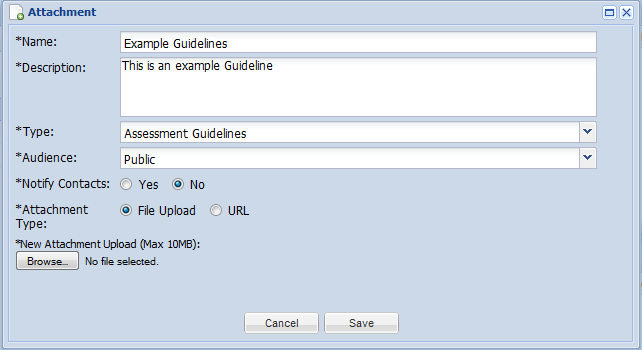
| Detail | Description |
| Name | Name of the file |
| Description | A short description of what the attachment is |
| Type |
Indicates to other users what category the attachment falls under. If Contract is selected, the attachment will also be available on the Contracts tab (external projects only). |
| Audience |
This indicates who has access to the attachment:
|
| Notify Contacts | If you select Yes, all contacts on the Team/Partners tab will be notified that an attachment has been uploaded. |
| Attachment Type |
Select the relevant choice to upload either:
|
5. If you are uploading a file, select the Browse button and choose the file you wish to upload. If you are uploading a URL, enter in the URL of the file you wish to link to.
Note: Attachments from your computer can be no larger than 10MB.
6. Select Save to upload the attachment.
The Bulk Upload capability allows users to select and upload up to 10 attachments at once.
1. Open the relevant Project and select the Attachments tab.
2. Select the folder you wish to add the attachment to. In this example, we will be uploading several attachments to the Project Management folder.
3. In the Attachments section, select the Add menu and then select the Bulk Add Attachments option.
4. Select the Browse button to select the files you wish to upload. Note: You can only select one file at a time and attachments must not be larger than 10MB.
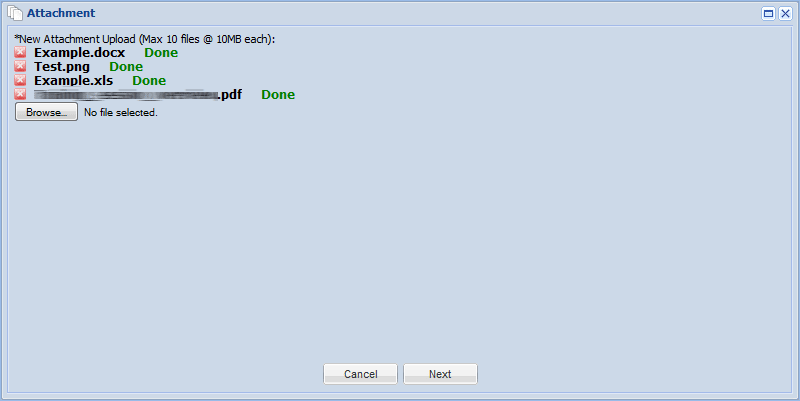
5. Select the Next button when you have selected all the relevant files.
6. In the next window, you can edit the Name, Description, Type and Audience of each attachment. You may also choose to notify all contacts on the Team/Partners tab that the attachments have been uploaded.
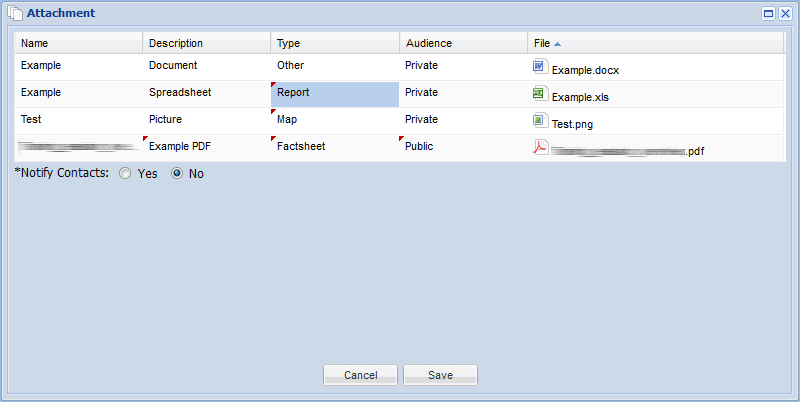
7. Select Save to upload all the attachments.
1. Open the relevant Project and select the Attachments tab.
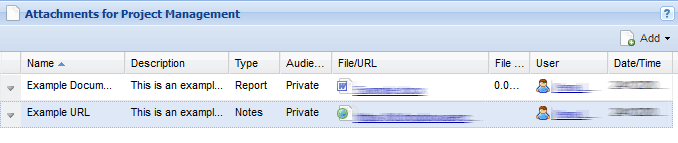
2. Select the relevant folder that contains the attachment.
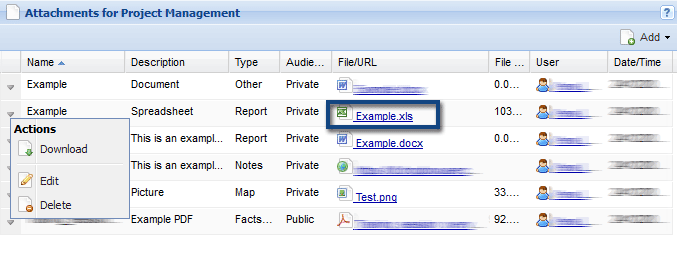
3. There are two ways to download an attachment:
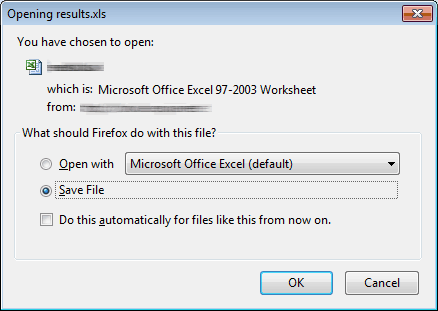
4. You will then be prompted to open or save the attachment to your computer.
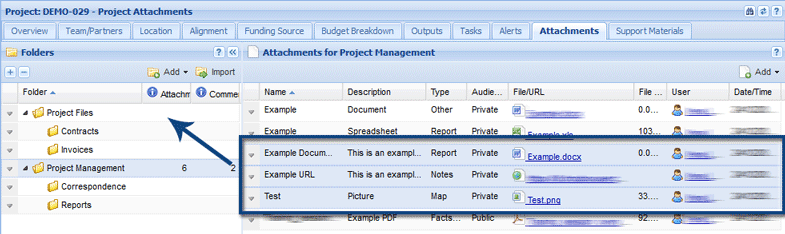
If attachments have been placed in the incorrect folder, you can move them to the correct folder. In this example, we are moving 3 attachments from the Project Management folder to the Project Files folder.
1. Open the relevant Project and select the Attachments tab.
2 Select the folder the attachments are in.
3. In the Attachments section, select the files you wish to move and drag them into the relevant folder.
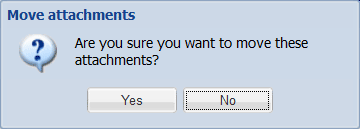
4. Select Yes when prompted.
1. Open the relevant Project and select the Attachments tab.
2. Select the folder the attachments are in.
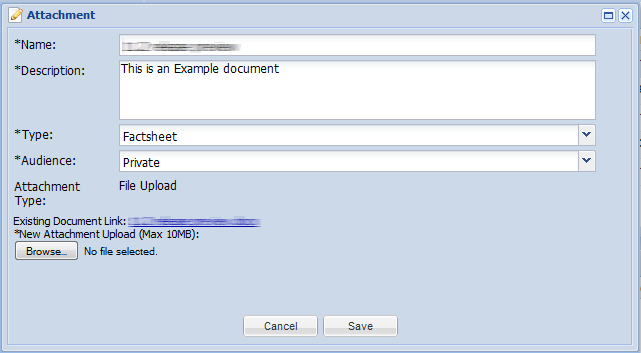
3. Select the down arrow next to the attachment and select Edit or Delete from the menu.
If editing, make the relevant changes and select Save to retain them. If you wish to replace a file, select the Browse button and select the replacement file.
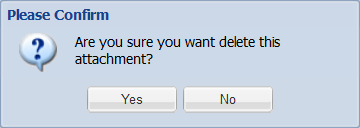
If deleting, select Yes when prompted.
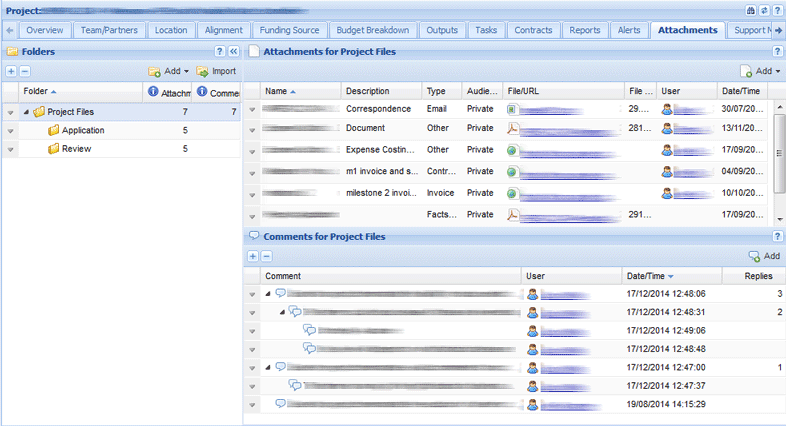
Comments can be added to folders to explain the purpose of the attachments or to track additional changes to attachments or add supplementary information.
1. Open the relevant Project and select the Attachments tab.
2. Select the relevant folder you wish to add the comments to. In this example, we are commenting on the Project Management folder.
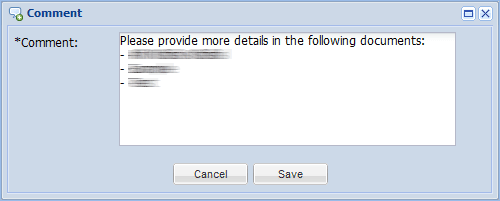
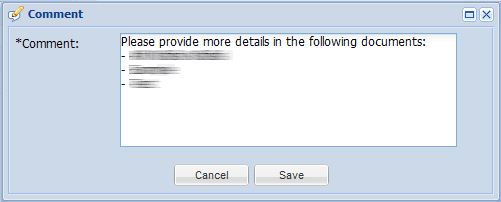
3. In the folder’s Comments section, select the Add button.
4. Enter in the relevant details and select Save to add the comment.
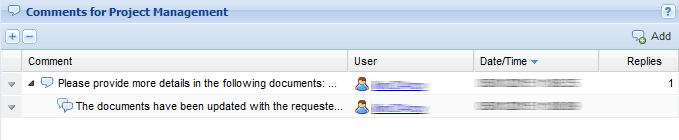
Replies can be used to track changes to attachments, progress on work and new information.
In this example, we are responding to a comment made on the Project Management folder.
1. Open the relevant Project and select the Attachments tab.
2, Locate the relevant folder and comment.
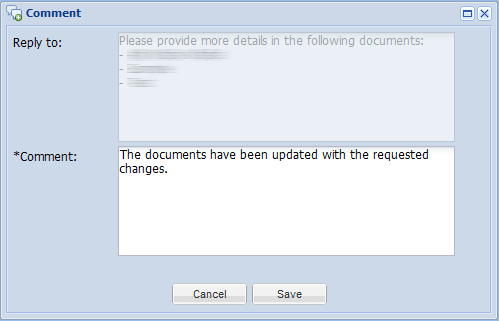
3. In the folder’s Comments section, select the down arrow next to the comment you wish to reply to and then select Reply from the menu.

4. The comment you are responding to will be displayed above your reply. Enter in the relevant details and select Save to create the reply.
1. Open the relevant Project and select the Attachments tab.
2. Select the down arrow next to the comment or reply that you wish to edit or delete.
If editing, select Edit from the menu and make the relevant changes to the comment or reply. Select Save to retain the changes.
If deleting a single comment or reply, select Delete from the menu. Select Yes when prompted. Note: If you delete a comment, any replies will not be deleted.
If deleting a comment and its replies, select Delete All (this comment and all replies) from the menu. Select Yes when prompted.