| RCO | PFM |
|
|
|
| RCO | PFM |
|
|
|
| Applicant Portal Branding Overview |
| Project Branding Overview |
| Project Search Colours |
| Search Results Display |
| Public Project Factsheets |
| HTML Editor |
| Insert Images |
| Insert Hyperlinks |
The Branding tab allows your organisation's Regional Communications Officer (RCO) and Portfolio Manager to control the appearance of the Applicant Portal by branding it with the relevant logos and text. You can also customise the appearance and content of your organisation's Applicant Portal Terms and Conditions.
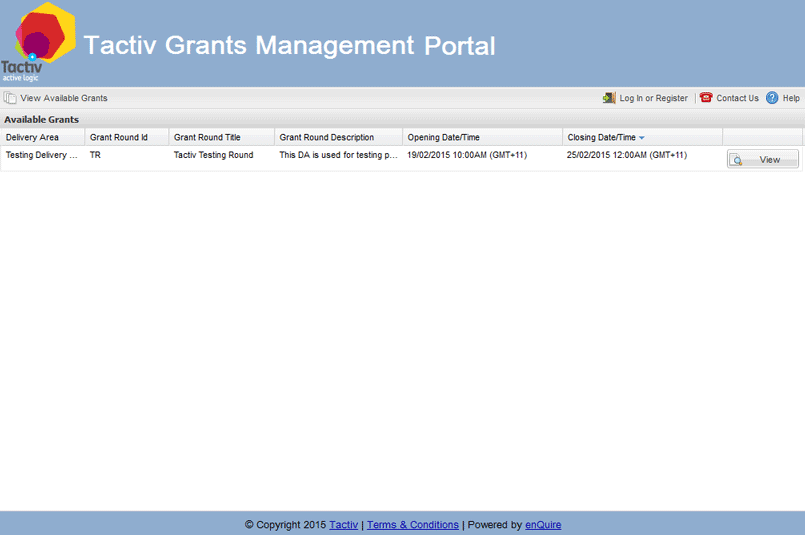
1. Select My Group from the Home drop down menu.
2. Select the Branding tab.
3. The Applicant Portal Branding section comprises of the following sections and fields:
4. To brand the Applicant Portal, select the pencil icon under the relevant sections.
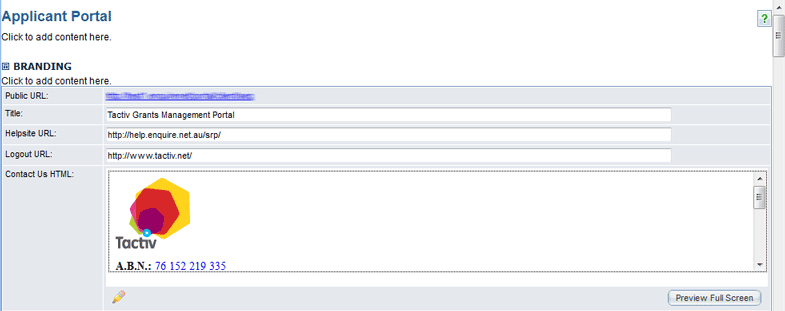
5. This will open a window where you can edit the appearance of the Applicant Portal. Within this, you can add text, images and hyperlinks as per your organisation’s requirements. Select Save to update the section or Cancel to discard your changes.
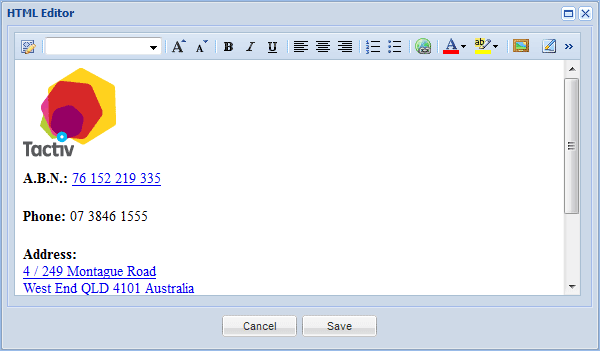
6. Use the Preview Full Screen buttons under each section to test the appearance of each section.
7. Use the Save button to retain your choices and Preview button to test the Applicant Portal’s appearance.

The Branding section allows your organisation's Regional Communications Officers (RCO) and Portfolio Managers (PFM) to control the public face of your organisation's projects when using the Enquire project search function within your organisation's website, and the components of the projects' public factsheets.
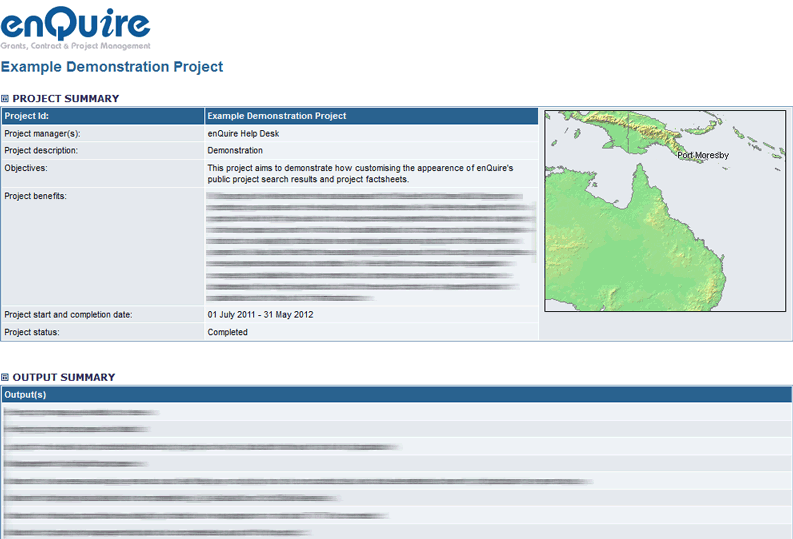
Note: Customised branding will only appear when searches are made from regional group websites once the Enquire project search has been embedded into your website and users are searching via your website.
1. Select My Group from the Home drop down menu.
2. Select the Branding tab and scroll down to the Page Branding section under Project Search/Overview.
The Page Branding section comprises of 3 sections:
3. To add content and logos to the header or footer, select the pencil icon under the relevant sections.
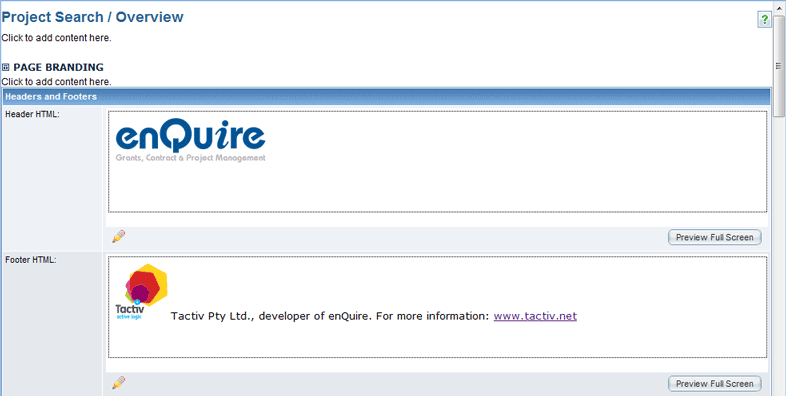
This will open a window where you can edit the appearance of the header or footer. . Within this, you can add text, images and hyperlinks as per your organisation’s requirements.
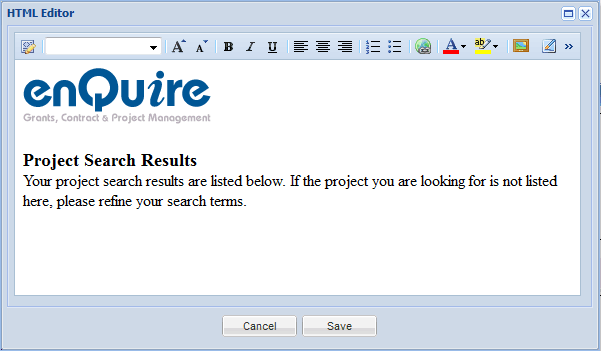
4. Select Save to update the section or Cancel to discard your changes.
5. Scroll down and select the colours used within the Project Search pages and factsheets.

6. Select the Save button under the Search Results Display section to retain your changes,

7. Use the Preview button to preview how the Project Search pages look.
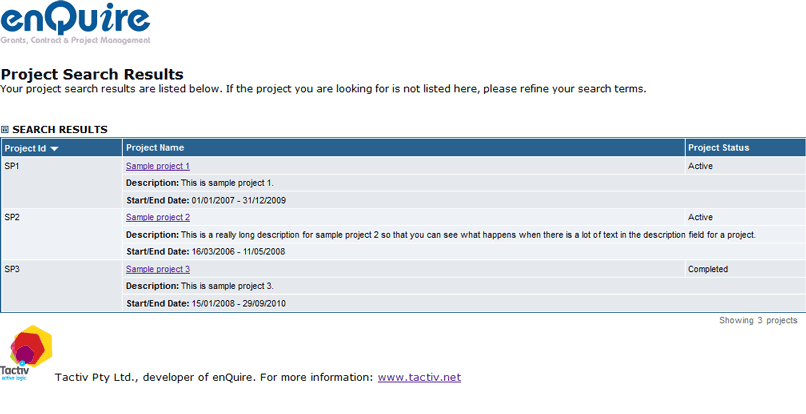
Each colour box in the Page Colours section corresponds to a different part of the tables used to display project search results and project factsheet information.
1. Enter the HTML colour code into each field, or use your mouse to change the colour within the colour palette by selecting each individual box.

The Search Results Display section allows you to select the data displayed in the Project Search results.
1. Select My Group from the Home drop down menu.
2. Select the Branding tab and scroll down to the Search Results Display section.
3. To add ore remove data, select or deselect the checkbox next to the relevant field. For example, you may only wish to display the project description and the start and end dates.

4. Select Save to retain any changes made.
The Project Factsheet section allows you to select which project components and information fields are available via the public project search. This includes:
1. Select My Group from the Home drop down menu.
2. Select the Branding tab and scroll down to the Project Factsheet section.
3. To add or remove information fields, select or deselect the checkboxes next to each field according to your organisation's needs.
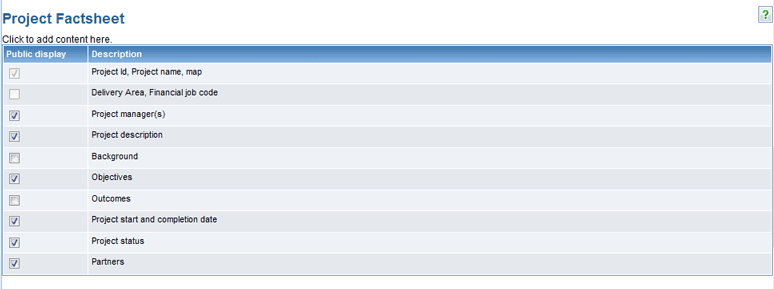
4. To re-order project components, select either the up or down arrow to shift the component as required.

5. Select Save to confirm your changes to the Factsheet layout.
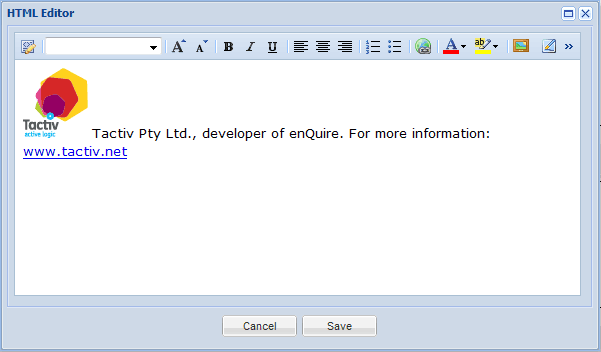
The HTML Editor is where you can edit the appearance of sections of the Applicant Portal or Project Search pages by adding text, images and hyperlinks. The following table explains the icons that you can use to edit text or add images and hyperlinks. Select Save to update the section or Cancel to discard your changes.

1. Select My Group from the Home drop down menu.
2. Select the Branding tab and select the pencil icon under the following sections:
Applicant Portal - Contact Us, Terms and Conditions, Header or Footer HTML sections.

Page Branding - Header or Footer HTML sections

3. Select the Image icon in the window that appears.
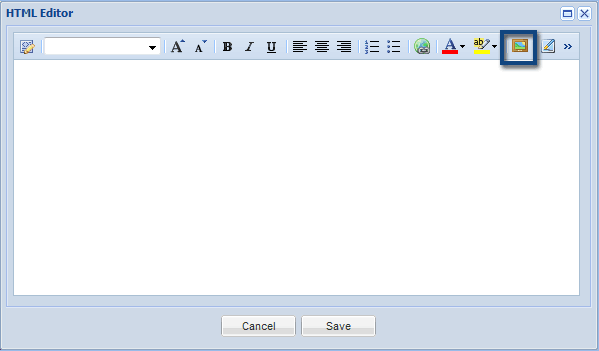
4. This will bring up a pop-up where the logo's URL must be entered. Note: You may need to check if your organisation has a suitable logo publicly available online and the necessary permissions to use it.
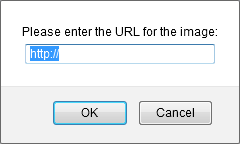
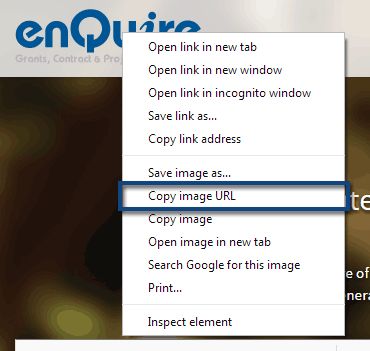
5. Locate and paste (Ctrl V) the image's URL into the pop-up as per the browser based instructions below. Select the browser's name to open the instructions below on how to locate an image's URL.
1. Locate the relevant image.
2. Right click on the image.
3. Select Copy Image URL from the menu. The URL can now be pasted into the URL pop-up.
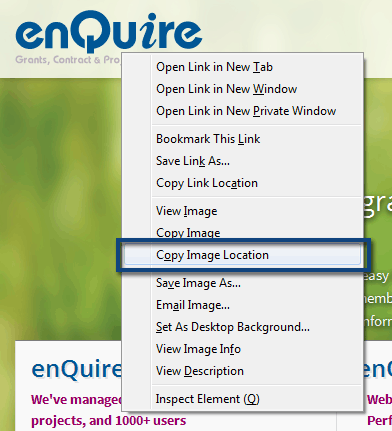
1. Locate the relevant image
2. Right click on the image.
3. Select Copy Image Location from the menu. The URL can now be pasted into the URL pop-up.
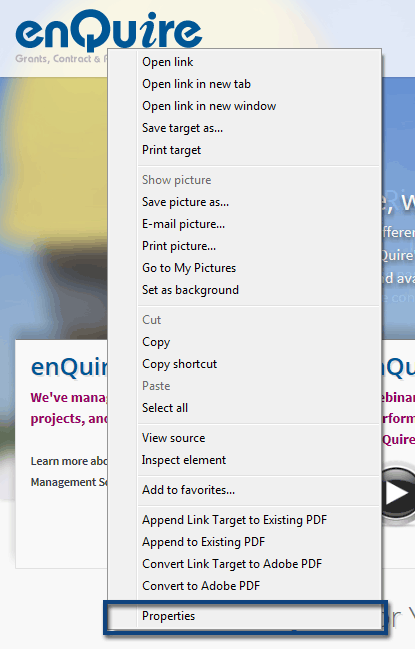
1. Locate the relevant image.
2. Right click on the image.
3. Select Properties from the menu.
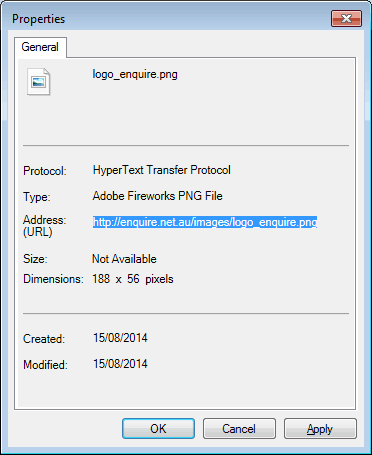
4. Select and copy (Ctrl V)the URL from the Address (URL) section. The URL can now be pasted into the URL pop-up.
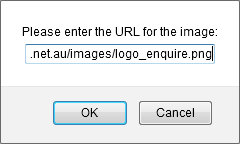
6. Paste (Ctrl V) the URL into the URL pop-up and select OK to add the image.
7. The image will now be added to the section. Continue adding content and select Save when you have finished. Note: You will still need to scroll down to the bottom of the Applicant Portal or Page Branding sections to save your changes.

1. Select My Group from the Home drop down menu.
2. Select the Branding tab and select the pencil icon under the following sections:
Applicant Portal - Contact Us, Terms and Conditions, Header or Footer HTML sections.

Page Branding - Header or Footer HTML sections

3. In the window, highlight the text or logo that you wish to link to a website or email.
4. Select the Hyperlink icon.
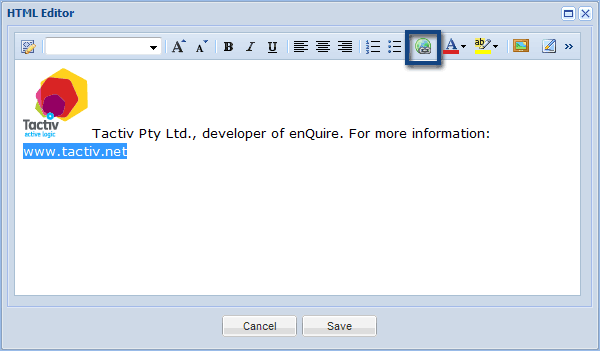
This will bring up a pop-up where the URL of the website or email address must be entered. The prefix http:// or https:// will already be added to the field. This will need to be deleted if you enter an email address or if the copied URL already contains this prefix.

5. Enter or paste (Ctrl V) the website or email address.
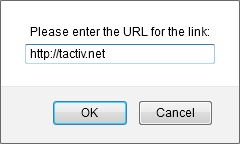
6. Select OK once you've entered the URL and continue to add content. Select Save when you have finished adding content to the header or footer. Note: You will still need to scroll down to the bottom of the Applicant Portal or Page Branding sections to save your changes.
