| View Refunds |
| Add Refunds |
| Edit Refunds |
| Links Payments to Refunds |
| Update Refunds |
| Delete Refunds |
| Edit Historical Comments |
| Delete Historical Comments |
The Refund Component must be included in the Project Template before refunds can be processed on a project's Budget Breakdown tab.
| PM | PJA | PJC | RDM | DAM | PFM | BFM | BCM |
|
|
|
|
|
|
|
|
|
1. Open the relevant project and select the Budget Breakdown tab.
2. Scroll down to the Refunds section. Scroll to the right to see additional details about the refund.

| PM | RDM | DAM | PFM | BFM | BCM |
|
|
|
|
|
|
|
When a refund is created, it must be manually linked to the WBS and GL accounts that your organisation uses to process refunds. Refunds can also be linked to payments for tracking purposes.
1. Open the relevant project and select the Budget Breakdown tab.
2. Scroll down to the Refunds section and select the Add Refund button.

3. Enter in the following details, an asterisk (*) indicates a mandatory detail:
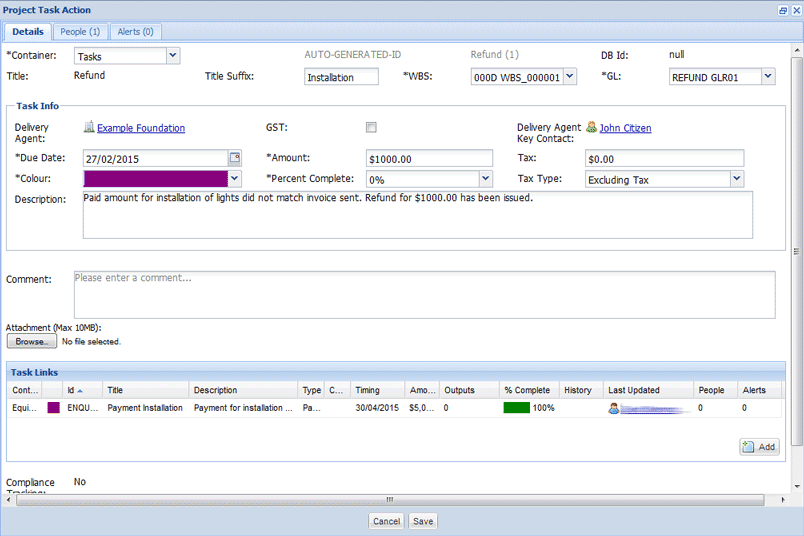
4. Select Save to create the refund.
The refund will now be created.

| PM | RDM | DAM | PFM | BFM | BCM |
|
|
|
|
|
|
|
1. Open the relevant project and select the Budget Breakdown tab.
2. Scroll down to the Refunds section.
3. Select the down arrow next to the relevant refund and select Edit from the menu.

4. Edit the refund's details as required and select Save to save your changes.
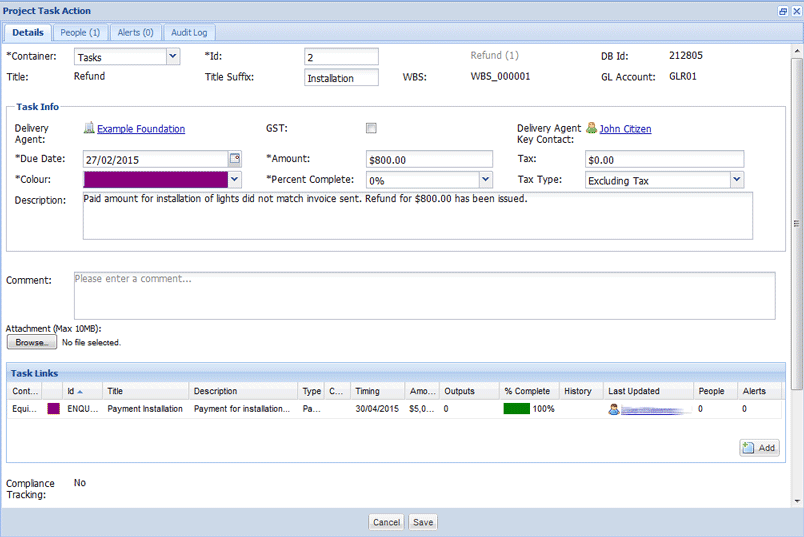
The refund's details have now been edited.

| PM | RDM | DAM | PFM | BFM | BCM |
|
|
|
|
|
|
|
Refunds can be linked to a payment for tracking purposes.
1. Open the relevant project and select the Budget Breakdown tab.
2. Scroll down to the Refunds section and create or edit a refund.
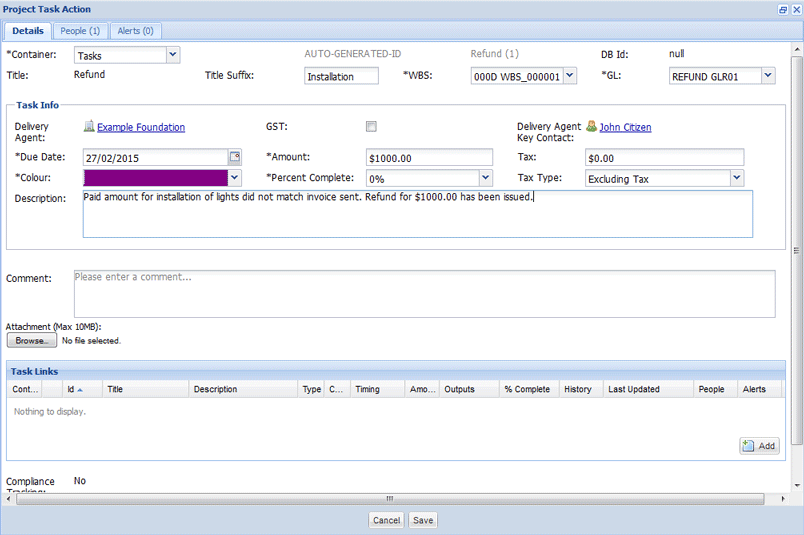
3. Select the Add button in the Task Links section to link a payment to a refund.

4. Select the checkbox next to relevant payments and then use the Select button to link them to the refund.
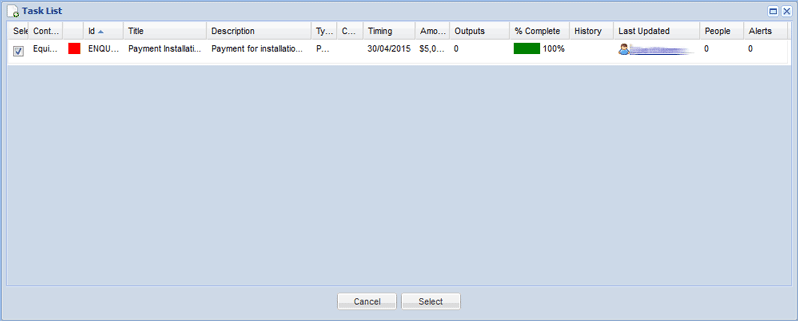
The refund and payment are now linked.

5. Select Save to create the refund or save your changes.
| PM | RDM | DAM | PFM | BFM | BCM |
|
|
|
|
|
|
|
1. Open the relevant project and select the Budget Breakdown tab.
2. Scroll down to the Refunds section.
3. Select the down arrow next to the relevant refund and select Update from the menu.

4. Update the refund with the relevant information and select Save to save your changes.
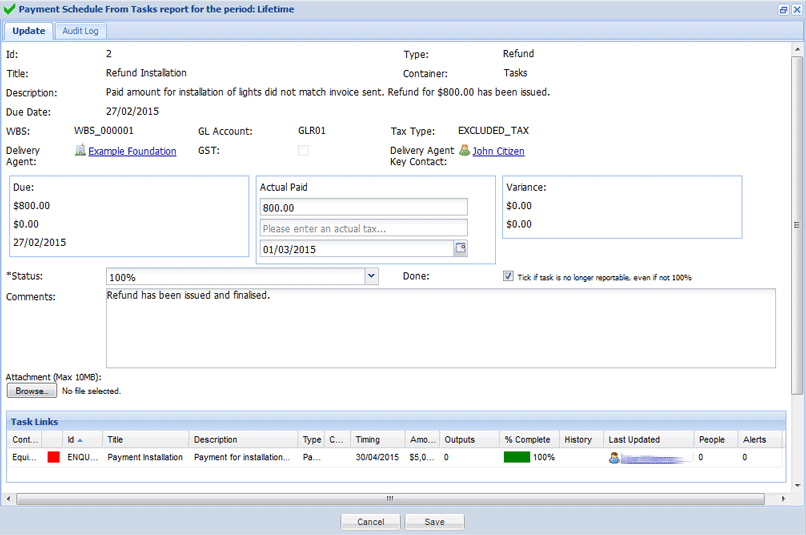
The refund will now be updated.

| PM | RDM | DAM | PFM | BFM | BCM |
|
|
|
|
|
|
|
Refunds can only be deleted if it has not been marked as Done when it was last updated.
1. Open the relevant project and select the Budget Breakdown tab.
2. Scroll down to the Refunds section.
3. Select the down arrow next to the relevant refund and select Delete from the menu.

4. Select Yes when prompted to delete the refund.
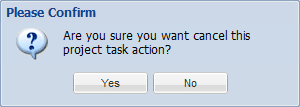
5. The refund will now be deleted.

| PM | RDM | DAM | PFM | BFM | BCM |
|
|
|
|
|
|
|
Historical or previously entered comments made on refunds can be edited as required.
1. Open the relevant project and select the Budget Breakdown tab.
2. Scroll down to the Refunds section.
3. Edit the relevant refund to view the historical comments made.
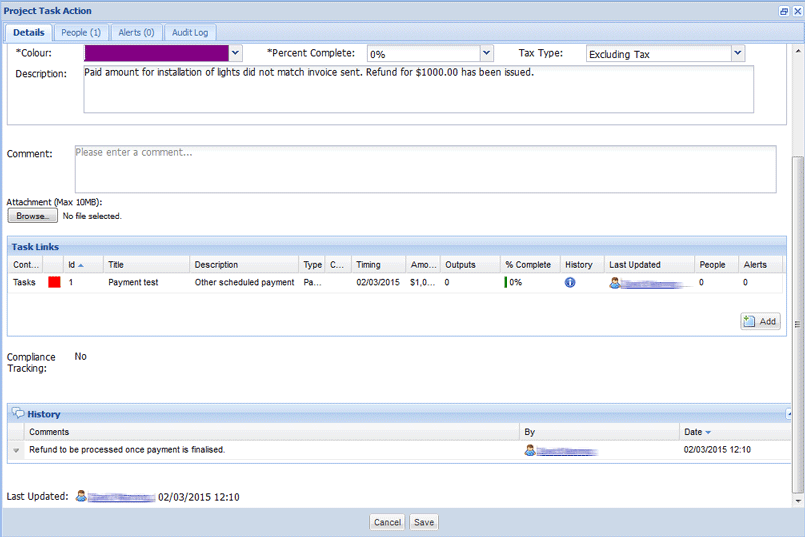
4. Select the down arrow next to the relevant comment and select Editfrom the menu.

5. Make the changes as required and then select Save to update the comment.
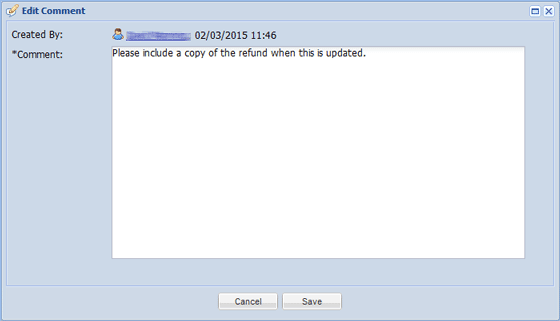
The comment will now be updated.

6. Select Save to save your changes to the refund.
| PM | RDM | DAM | PFM | BFM | BCM |
|
|
|
|
|
|
|
Historical or previously entered comments made on refunds can deleted as required.
1. Open the relevant project and select the Budget Breakdown tab.
2. Scroll down to the Refunds section.
3. Edit the relevant refund to view the historical comments made.

4. Select the down arrow next to the relevant comment and select Delete from the menu.

5, Select Yes when prompted.
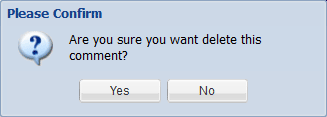
The comment will now be deleted.

6. Select Save to save your changes to the refund.