| RDM* | DAM* | SYS |
|
|
|
|
*As per their Round or Delivery Area
The Projects tab allows users to see an overview of all or filtered applications and projects under the round. The Projects tab also allows the following bulk actions to be applied to multiple applications:
1. Open the relevant Round and select the Projects tab.
2. Configure the search filters to locate the relevant projects or applications. In this example, we are searching for applications that have reached the Initial Assessment Stage.
3. Select the magnifying glass to locate the projects that match your search filter.

Projects that match the search filter will be displayed.
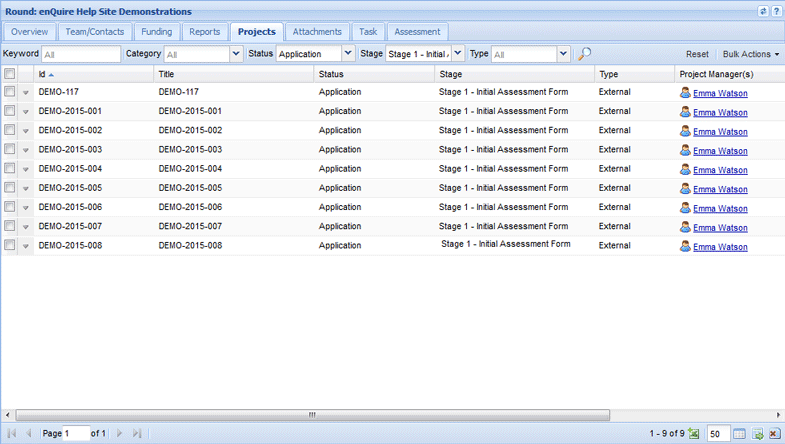
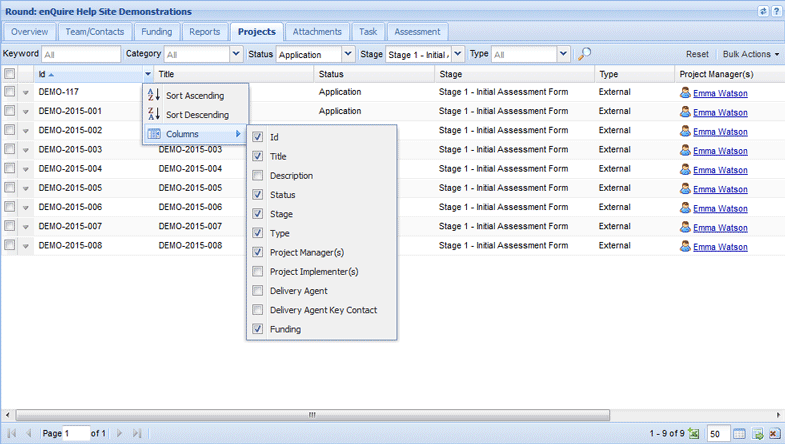
You can include or remove columns to change the information displayed on the Assessment tab.
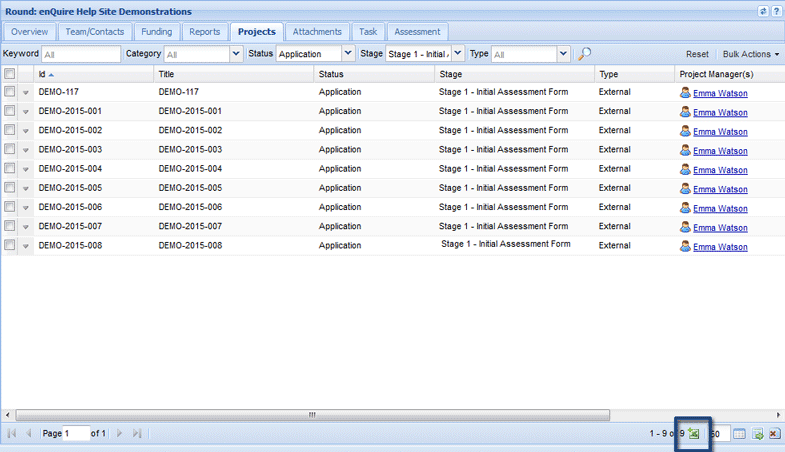
Project details can be exported as an Excel spreadsheet for assessment or archival purposes.
1. Open the relevant Round and select the Projects tab.
2. Configure the search filters to locate the relevant projects or applications. In this example, we are searching for applications that have reached the Initial Assessment Stage.
3. Select the magnifying glass to locate the projects that match your search.

4. Select the down arrow on the column headings to sort and select the information you would like displayed.

5. Select the Download Results button to export the projects' assessment results.
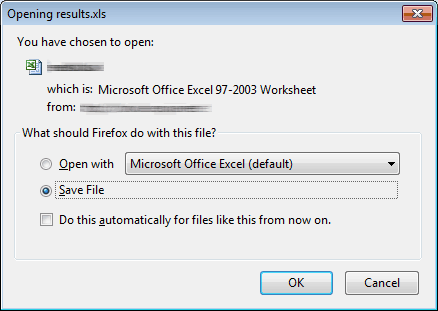
6. Open or Save the spreadsheet to your computer.
The Application Stage smart component can be configured to allow Round level Bulk Actions to be made available for applications that reach certain stages. For example, your organisation only allows activation of applications once the final assessment step has been completed.
1. Create or edit a project template.
2. Add or edit the Application Stage Component.
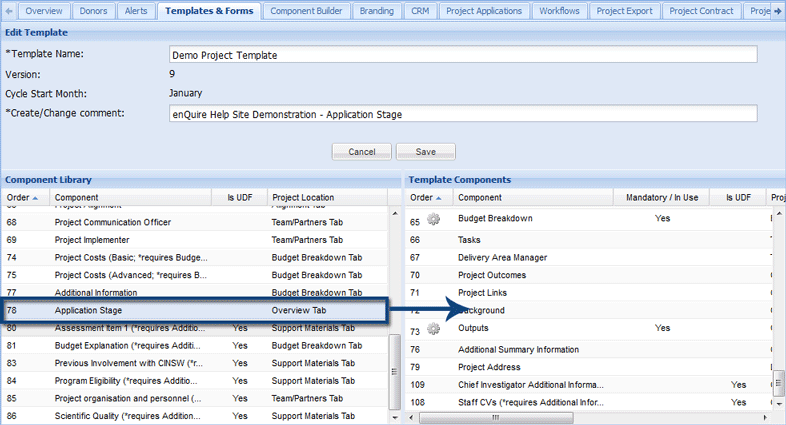
3. Select the Stages and the Bulk Actions you would like available to the selected stages.
In this example, the Bulk Park action is available on all selected stages but the other Bulk Actions are only available at certain stages.
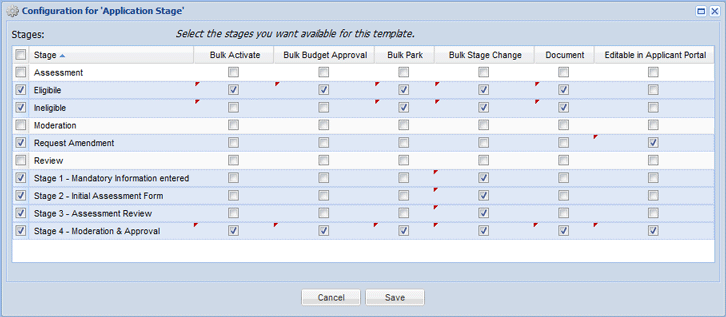
4. Select Save to confirm your configuration.
5. Continue to edit the project template and then select Save to retain your changes.
The Bulk Change Category action allows you to add a category Delivery Area from all selected projects and applications.
1. Open the relevant Round and select the Projects tab.
2. Locate and select the relevant applications and projects.
3. Select the Bulk Change Category from the Bulk Actions menu.

4. Select the category you wish to add all the selected projects and applications to and then select Save.

5. Select Ok when prompted.
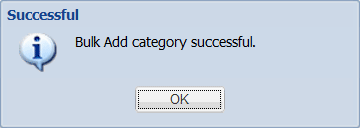
The category Delivery Area will now contain the selected applications.
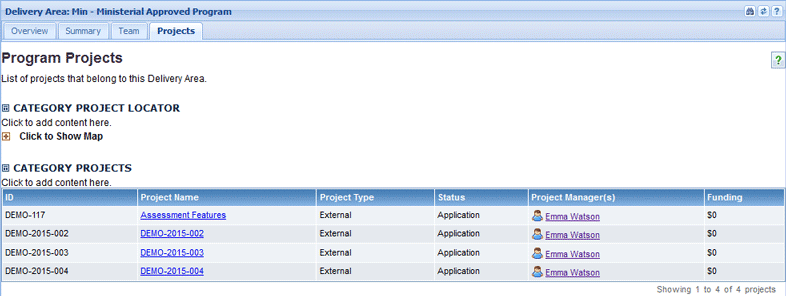
The Bulk Change Category action allows you to remove a category Delivery Area from all selected projects and applications.
1. Open the relevant Round and select the Projects tab.
2. Locate and select the relevant applications and projects.
3. Select the Bulk Change Category option from the Bulk Actions menu.

4. Select the category you wish to remove from the selected projects and applications and then select Remove.

5. Select OK when prompted.
The category Delivery Area will no longer contain the removed applications.

1. Open the relevant Round and select the Projects tab.
2. Locate and select the applications that you wish to activate. In this example, we are activating all applications that have reached the Moderation & Approval stage.
3. Select the Bulk Activate option from the Bulk actions menu.

4. Select Yes when prompted.
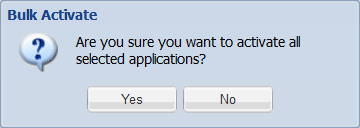
5. The applications will now be active projects. You may need to reconfigure your search filters to locate the activated projects.

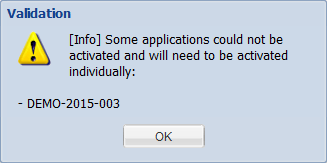
You will be prompted if there are any applications that were not able to be activated. Check that all mandatory components were entered and that the assessment workflow was completed if you unable to activate an application.
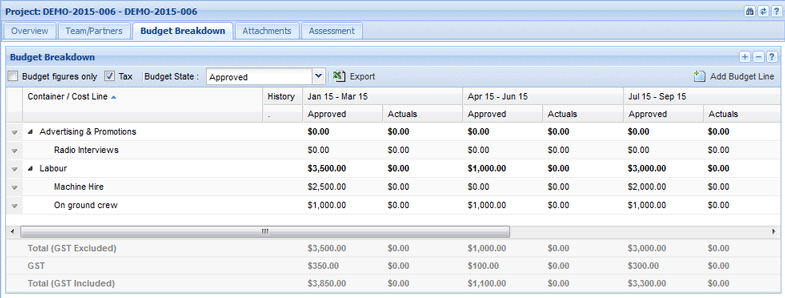
The Bulk Budget Approval action copies all eligible and not applicable budget items submitted at the Reviewed stage to the Approved stage for all selected applications. This bulk action works in tandem with a Budget Review process, your Budget Breakdown tab must be configured for the review process for this action to work.
1. Open the relevant Round and select the Projects tab.
2. Locate and select the applications that belong to the relevant stage. In this example, Bulk Budget Approval action has been configured to be available for applications that have reached the Moderation & Approval stage.
3. Select the Bulk Budget Approval option from the Bulk actions menu.

4. The selected application's budget from the Reviewed stage has now been copied into the Approved stage.
In this example, an applicant has requested funding for three items: machine hire, on ground crew, and a promotional event. After review, the promotional event was marked as ineligible for funding whereas the other items will be funded by the organisation.
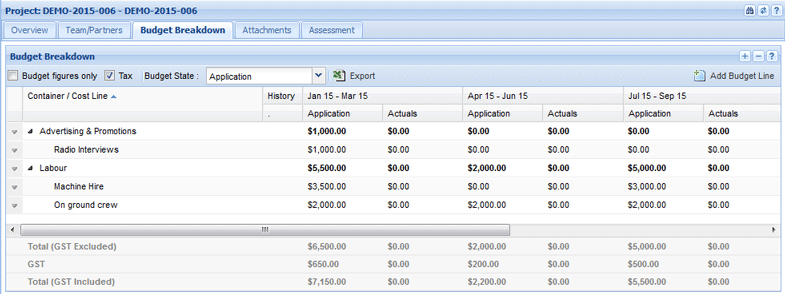
When the budget was approved via the Bulk Budget Approval, the eligible and not applicable budget items was copied into the Approved project budget.
The Bulk Park action allows you to place all selected applications into Parked status.
1. Open the relevant Round and select the Projects tab.
2. Locate and select the applications that you want to park. In this example, the Bulk Park action has been configured to be available at all application stages.
4. Select the Bulk Park option from the Bulk Actions menu.

5. Select Yes when prompted.
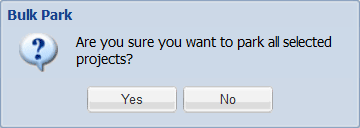
6. The applications will now be parked. You will need to reconfigure your search filters to locate the parked applications.

The Bulk Stage Change allows you to change the current application stage for all selected applications. This should be used to move unsuccessful applications into another stage for reassessment or activation when a workflow has been completed. In this example, we have several applications that had been assessed as ineligible but after reassessment are now eligible. As the assessment workflow for these applications has ended, their application stage must be manually updated.
1. Open the relevant Round and select the Projects tab.
2. Locate and select the applications that you wish to apply the Bulk Action to.
3. Select the Bulk Stage Change option from the Bulk Actions menu.

4. Select the relevant stage and then select Save. In this example, the applications are moving from the Ineligible stage to the Eligible stage.
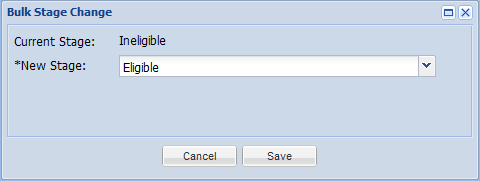
5. The application’s stage will now be changed. You will need to reconfigure your search filters to locate the applications under the new stage.

Bulk document generation allows you to generate documents from a standardised template such as letters to successful or unsuccessful applicants. This bulk action is available if requested as part of your Enquire implementation. If you would like document generation to be set up or require more information, please contact the Enquire Help Desk on +61 7 3911 1245 or via support@enquire.net.au.
Documents may not generate under the following conditions:
1. Open the relevant Round and select the Assessment tab.
2. Locate and select the applications that belong to the relevant stage. In this example, Document Generation has been configured to be available once applications have reached the Ineligible or Eligible stages.
3. Select the Document option from the Bulk Actions menu.

4. Select the relevant document template to generate and then select Generate to continue. In this example, we are generating letters to unsuccessful applicants.

The documents for the selected applications will now be generated.
5. You will be prompted to Open or Save an Excel spreadsheet which summarises the documents generated and the relevant application details.

You will also be prompted if there a document couldn’t be generated for specific applications. The details of the failed generation will be listed in the summary.

6. The generated document will now be available under the application's Attachments tab.

7. The document generation summary can be re-downloaded via the Round’s Attachments tab.
