| PM | PJA |
RDM | DAM | PFM | BFM | BCM |
|
|
|
|
|
|
|
|
| PM | PJA |
RDM | DAM | PFM | BFM | BCM |
|
|
|
|
|
|
|
|
A contract is a signed agreement between your organisation and the delivery agent, the organisation who has applied for funding or has been contracted to complete a project.For example, your group may have set contract templates for particular delivery agents or business partners and the contract's layout differs for each contract.
The contract type template will determine which contract is generated as the signed agreement between your organisation and the delivery agent. The templates will have been set up at the group level.
When generated, Enquire will use the current project data to fill in the contract's details. Contracts can also be generated on a project application.
The Contracts tab is where the parties involved with the project are listed and where the contract between these parties is generated. The contract’s status can also be tracked and updated within this tab. The Contracts tab is only available to External projects.
Your organisation may already have a default person assigned as the Key Contact for all external projects. If you are interested in having a default key contact set up, please contact the Enquire Help Desk at +61 7 3911 1245 or support@Enquire.net.au.
1. Open the relevant project and select the Contracts tab.
2. Select the Select Organisation Key Contact button.
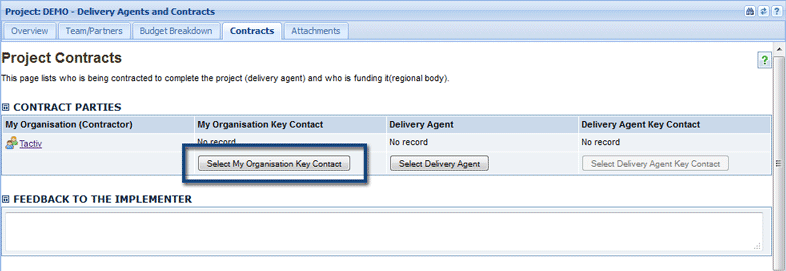
3. Locate the relevant contact by searching for them with the Search Contact button and a keyword. If no keyword is used, all CRM contacts will be displayed. You may also create a new CRM record if the relevant contact's details aren't available.
4.Select the radio button next to the relevant contact’s name and then the Select button.
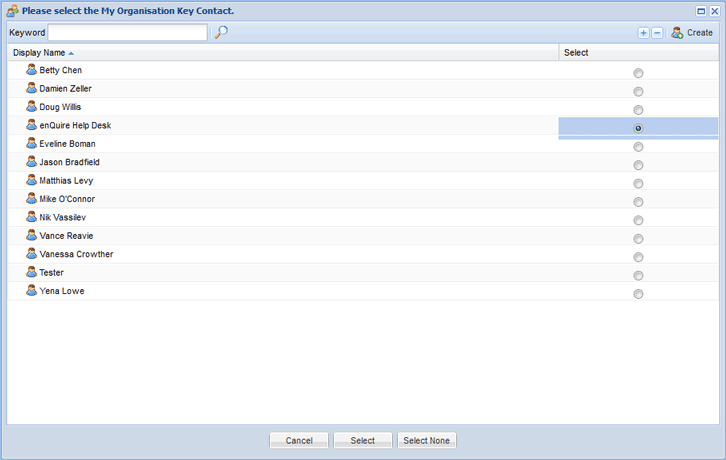
Your organisation’s key contact has now been set up.

1. Open the relevant project and select the Contracts tab.
2. In the Contract Parties section, select the Select Delivery Agent button.

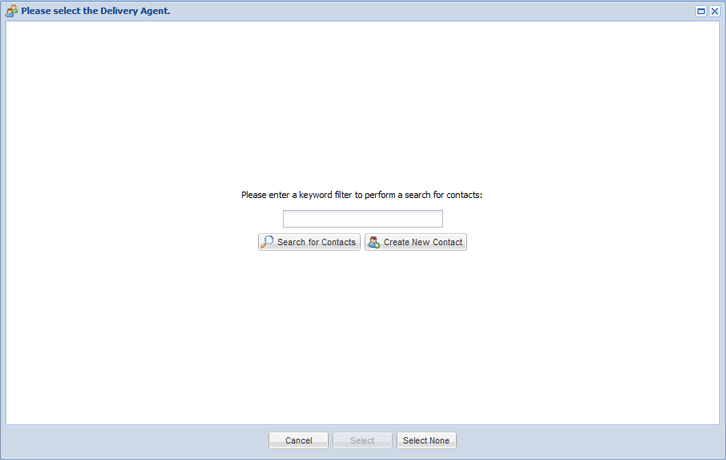
3. Locate the delivery agent by searching for them with the Search Contacts button and a keyword. If no keyword is used,all CRM contacts will be displayed. You may also create a new CRM record if the Delivery Agent details aren't available in the CRM.

4. Select the radio button next to the Delivery Agent's name and then the Select button.
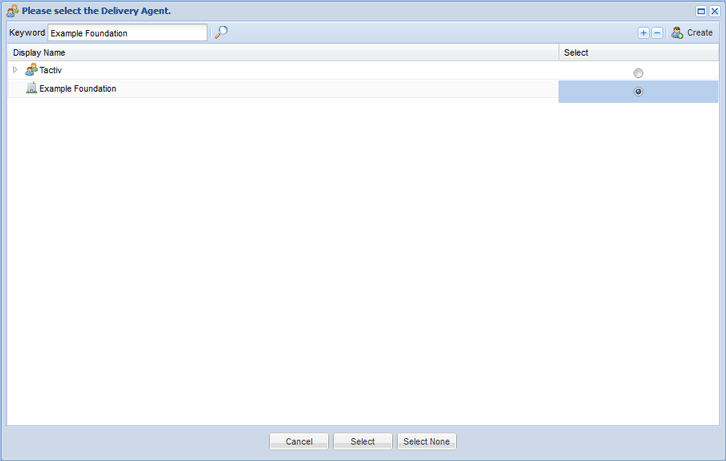
The external Delivery Agent has now been set up. You can now add the Delivery Agent's Key Contact

1. Open the relevant project and select the Contracts tab.
2. In the Contract Parties section, select the Select Delivery Agent Key Contact button.

3. A list of contacts for the selected delivery agent will display. Select the radio button next to the relevant contact and then the Select button.
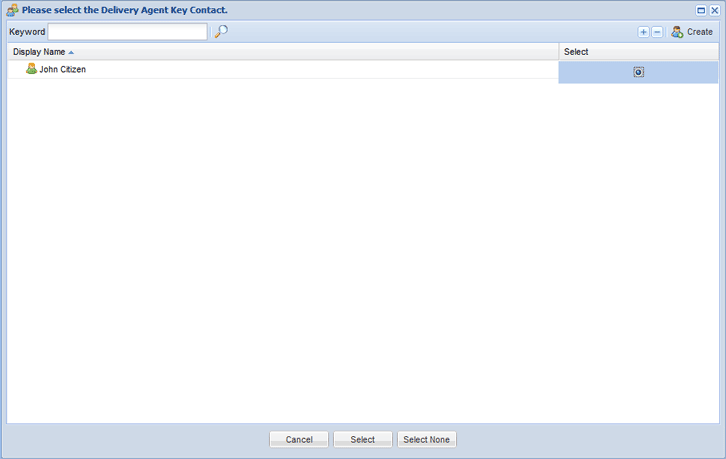
The Delivery Agent's Key Contact has now been set up.

The Contracts tab allows you to record the Delivery Agent's bank account details. Your organisation may require the Delivery Agent's bank account details to be recorded for one off payments. Once recorded, the bank account details cannot be changed and is stored on the Delivery Agent's CRM record and the Contracts tab.
This is an optional level of information and requires the Delivery Agent Bank Accounts and Contract Parties components to be included in your project template.
1. Open the relevant project and select the Contracts tab.
2. Select the Bank Account Details button.

3. You can enter the back account details in the following ways:
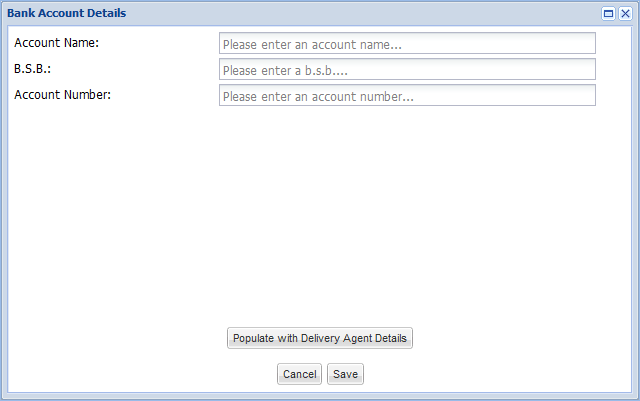
4. Select Save to save the account details.
5. Select Yes when prompted to continue.
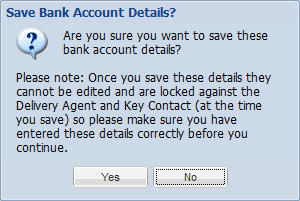
6. The Delivery Agent's bank accounts details have now been recorded on the project and the Ddelivery Agent's CRM record. Select Close to return to the Contracts tab.
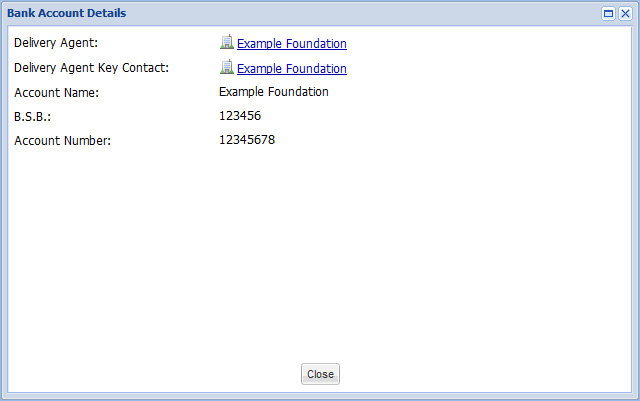
The bank account details linked to the project can be found on the Bank Accounts tab of the Delivery Agent's CRM record.
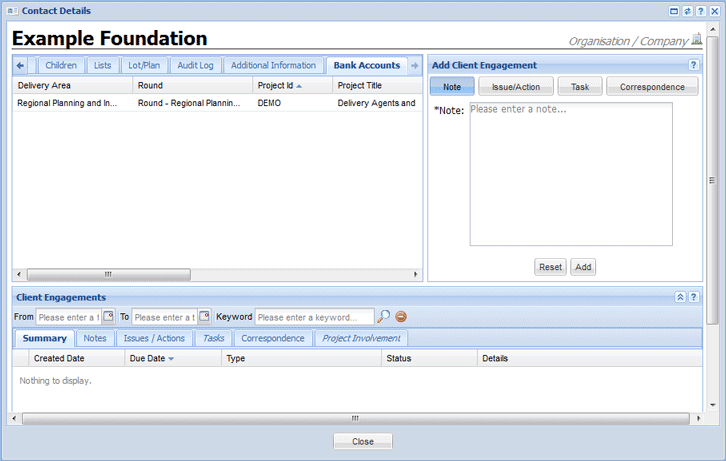
A contract's layout will depend on the contract template selected and the information entered into the project record. Your organisation will have created the templates at the group level.
1. Open the relevant Project and select the Contracts tab.
2. Scroll down to Contract Type section and use the drop down box to select a contract type template.

3, Use the Select button to select and save the contract type template.

The contract template type will be saved and will be used when the contract is generated. If you wish to use another template, select and save a different one from the drop down menu.

If required, the contract can be edited to include project specific information. Any edits made will not affect the original contract template.
1. Open the relevant Project and select the Contracts tab.
2. Scroll down to Contract Type section and select the Edit button to edit the template.

3. Make the relevant changes and select Save to save your changes.
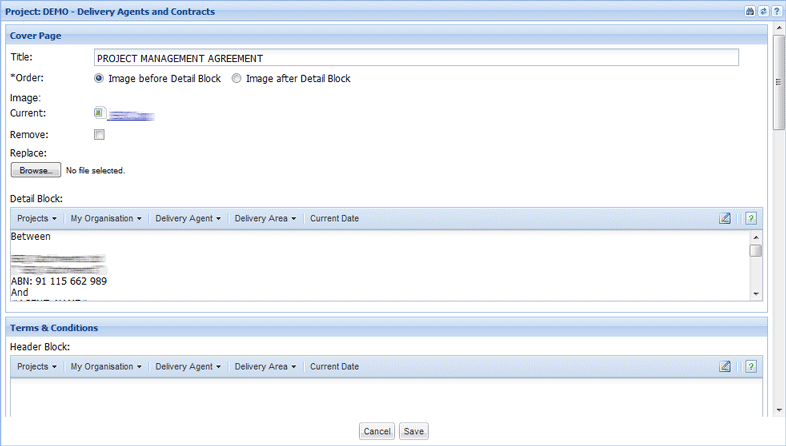
If you have generated a contract before editing, a new contract must be generated to include your changes.
Once the contract type template has been selected and saved, you can generate the contract for it to be sent and signed by all relevant parties. Information within a contract is sourced from the project, ensure that the project record is up to date before generating the contract.
1. Open the relevant project and select the Contracts tab.
2. Scroll down to the Contract Type section.
3. Select the Generate Contract button, if the contract type has been selected and saved,
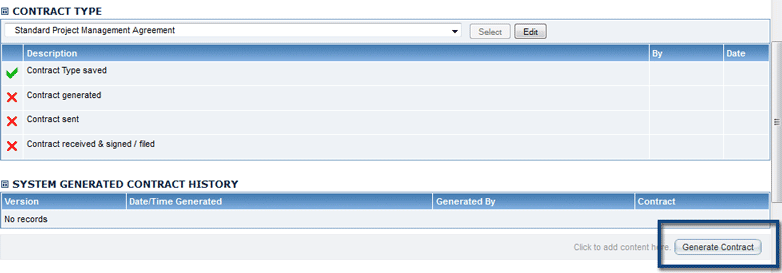
4. Select Ok when prompted.

The contract has now been generated. The date and details of the team member who generate the contract will be recorded in the status table.
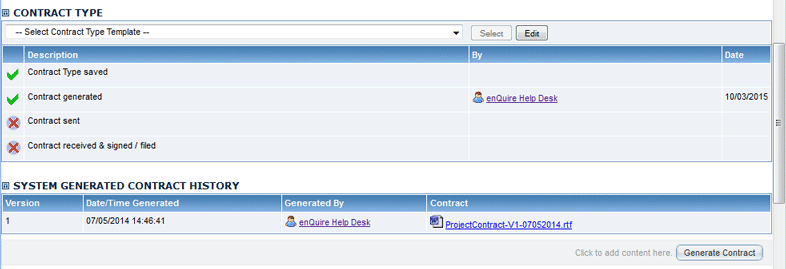
You can come back to the Contracts tab at any stage and generate a new contract using the current project information. The version number of the any generate contract is recorded in the System Generated Contract History table.

The contract’s status can be updated through the Contracts tab so team members can be kept up to date on its progress. The date and details of the team member who updated the status will also be recorded in the status table.
1. Open the relevant project and select the Contracts tab.
2. Scroll down to the Contract Type section.
3. Select the relevant contract status to update. In this example, the contract is ready to be sent to the delivery agent to be signed.

4. The status will now be updated and your details will be recorded in the status table.

The contract’s status will also be recorded on the Project’s Overview tab in the Contract Status table.
![]()
In addition to Generated Contracts, documents added through the Attachments tab and marked as the type “Contracts” type, will display in the User Attached Contracts table on the Contracts tab.
