| SYS |
|
|
| Form Builder Overview |
| Create Forms |
| Edit Forms |
| Delete Forms |
| Preview Forms |
| Clone Forms |
| Configure Project Components |
| Configure User Defined Components |
Enquire’s Form Builder can create various forms to capture data for grant application, assessment and final project reporting. As forms inherit components from Project Templates, a project template must be created before a form can be created and used. Forms can be set up at the group level for use within specific grant rounds. You may require different forms to capture applicant information for different projects or to assess an application in accordance to its Application Stage in a workflow.
Forms comprise of sections which are containers to hold instructions and the components inherited from a project template. If you project template has tabs such as Tasks, Outputs and Budget Breakdown, these can be included in an application form so applicants can indicate the Tasks, Outputs and Budget they plan to undertake or require. An assessment form can inherit User Defined Components from the project template which can be used to assess an application according to your organisation’s requirements.
| Example Application Form | Example Assessment Form | Example Final Report Form |
Project Details
Project Workplan
Project Financials
|
Program Eligibility
Scientific Quality
Significance & Innovation
|
Project Details
Project Workplan
Project Financials
Comments and Support Documentation
|
In this example, we will be creating a new Application Form to a project template that doesn't have an application form associated with it. Your organisation will have default application forms based off and linked to your existing project templates. You may wish to edit these instead of creating new application forms. You will need to create assessment forms if you would like to use a Form step within an assessment Workflow.
1. Select My Group from the Home drop down menu.
2. Select the Templates & Forms tab.
3. Select the down arrow next to the relevant Project Template and select Add Form from the menu.

4. Enter the Form Name and a comment about the form.
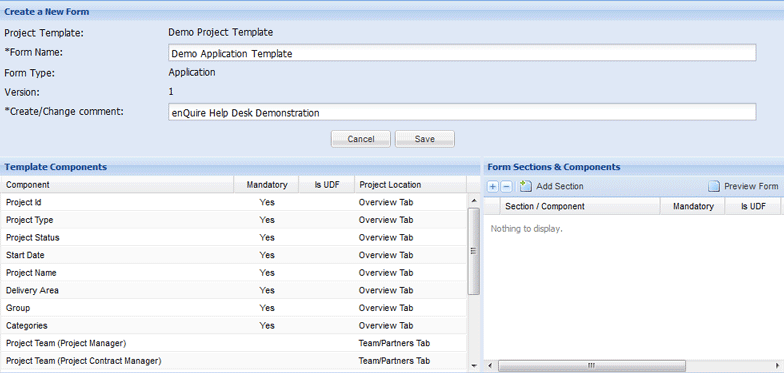
Forms use sections to group components inherited from a project template together. Sections can also include instructional guidelines for applicants and assessors, or additional information.
5. Select the Add Section button.

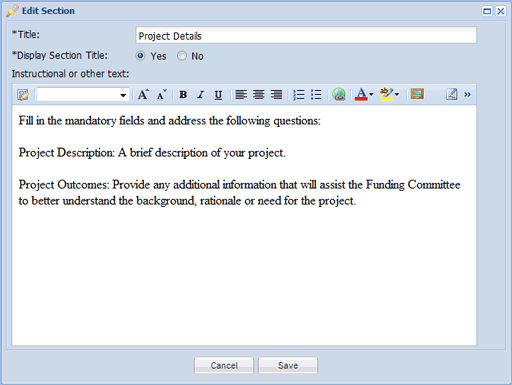
6. Enter in the section's title, whether this is displayed within the form, and any instructional or additional information text if required. Select Save to create the section.
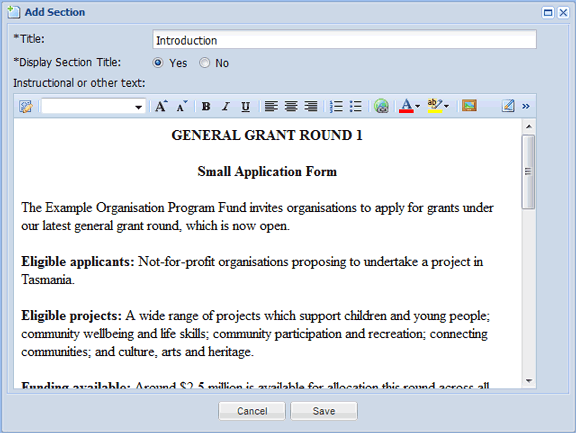
When the sections has been created, you can continue to add more sections, and then add components to the individual sections.
Add Components
7. Select the component in the Template Component column (on the left) and drag it on the relevant section's name within the Form Sections & Components section (on the right).

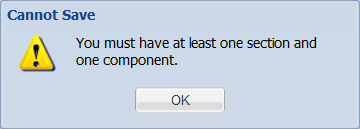
Note: You must have at least 1 section and component in your form to be able to create it. You will be prompted if you form does not comply with these requirements.
Some project and smart components can be configured with the following options when included in a form:
8. Add a component to a section within the form.
9. Configure the component as required and select Save to retain your changes. More details are available in the Configure Project Components section of this page.

User Defined Components can be configured with the following options when included in a form:
10. Add a UDC to a section in a form.
11. Configure the component as required and select Save to retain your changes.
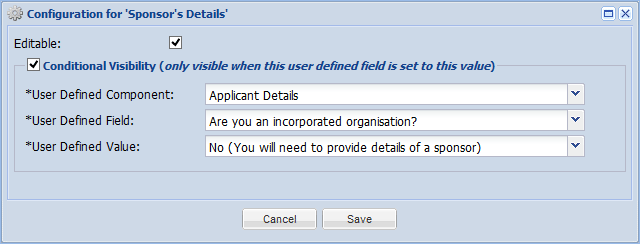
In this example we want the Sponsor's Details UDC to appear when an applicant selects the No option to "Are you an incorporated organisation?" UDF within the Applicant Details UDC. More details are available in the Configure User Defined Components section of this page.
Reorder Components
12. Select the component or section, and drag it above or below the relevant objects.

Remove Components
13. Select the component in the Form Sections & Components section (on the right), and drag it into the Template Component column (on the left).

Edit and Delete Sections
14. Select the down arrow next to the relevant section's name, and then either Edit or Delete from the menu.

If editing, make the necessary changes and select Save to confirm them.
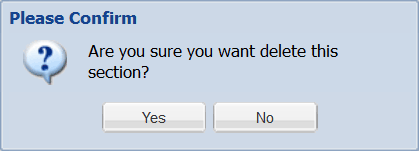
If deleting, when prompted, select Yes to confirm the deletion.
Preview Form
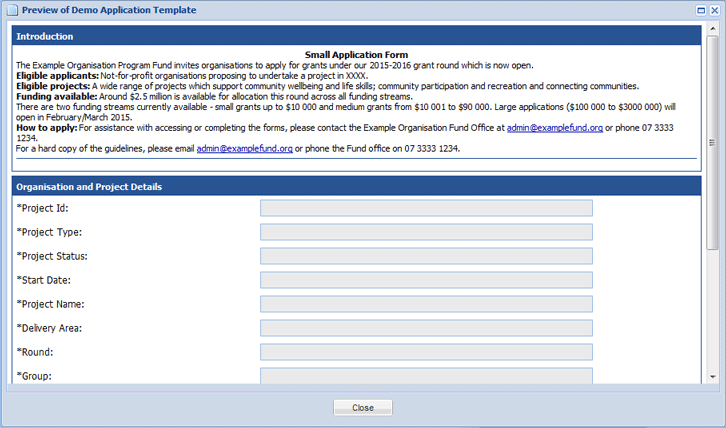
Forms have a preview mode that can be used while creating and editing the form to preview its appearance by selecting the Preview Form button.

Note: As this is a preview, you will be unable to edit the form. Close the preview and continue with creating or editing the form.
15. Continue adding sections and components as required. Select Save when you have completed the application form.
The form will now be linked to the Project Template and available within Rounds that use the project template.

1. Select My Group from the Home drop down menu and then select the Templates & Forms tab..
2. Select the down arrow next to the relevant form, and select Edit from the menu.

3. Make the relevant changes to your template and include a comment regarding the changes.
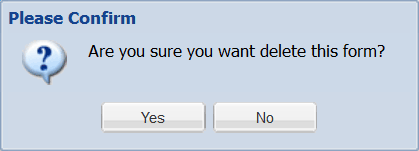
A form can't be deleted if it is in use within one or more Rounds. You will be prompted if a template can't be deleted due to these reason.
1. Select My Group from the Home drop down menu and then select the Templates & Forms tab..
2. Select the down arrow next to the form template you wish to edit, and select Delete from the menu.

3. Select Yes when prompted.
1. Select My Group from the Home drop down menu and then select the Templates & Forms tab.
2. Select the down arrow next to the form template you wish to edit, and select Preview Form from the menu.

A preview window will open and allow you to review how the form will appear to applicants and assessors. Note: You will not be able to edit the form through this window.

5. Close the preview window when you have finished reviewing the form.
Forms can be cloned which allows you to base new application and assessment forms on existing ones. In this example, an existing application form will be cloned to create a new application form.
1. Select My Group from the Home drop down menu.
2. Select the Templates & Forms tab.
3. Select the down arrow next to the relevant form and select Clone Form from the menu.

4. Enter a name for the form and edit it to suit your organisation's requirements.
5. Select Save to create the cloned form.
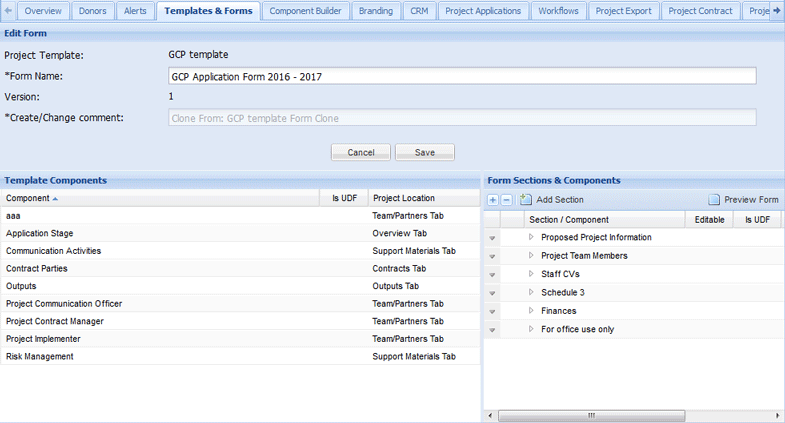
The form will now be cloned.

Some project and smart components can be configured with the following options when included in a form:
1. Create or edit a form.
2. Add or edit a component in a form.
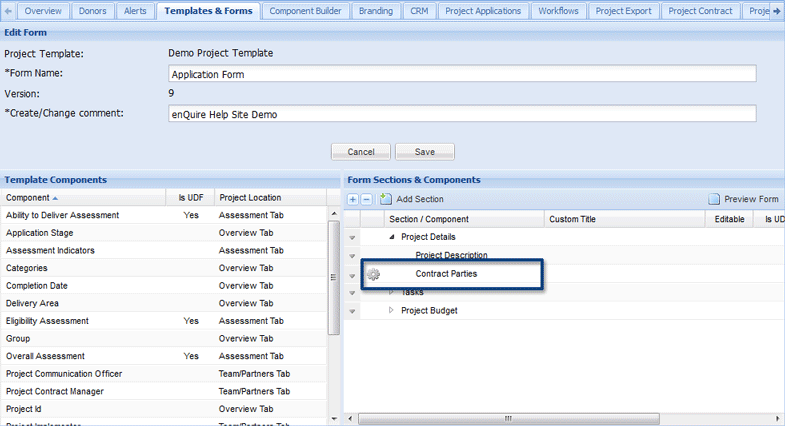
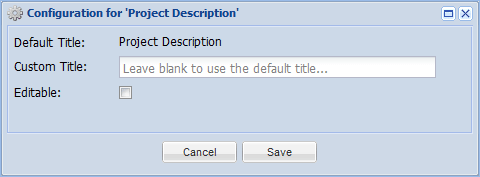
3. Configure the component as required and select Save to retain your changes.
In this example, the Project Description component has been given a custom title and is available to edit within an application form.


In this example, the Project Description component has been locked from editing in an assessment form. This prevents the assessor from editing the applicant’s submission.
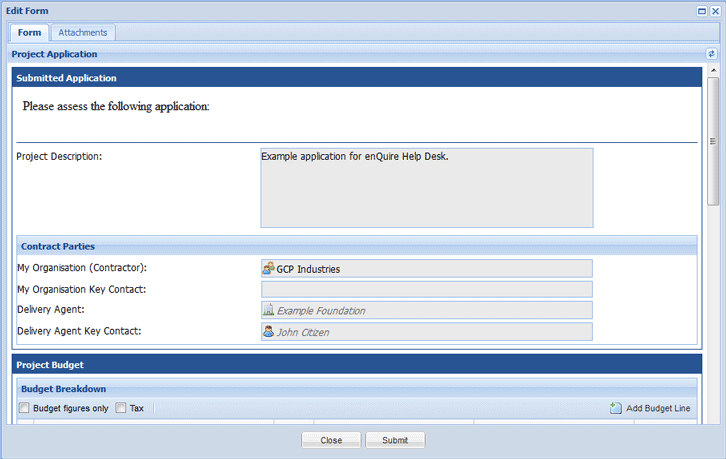
4. Continue to edit the form and Save to complete the form.
User Defined Components can be configured with the following options when included in a form:
Some application and assessment forms require some questions or items to be made available based on a previous response. For example, your organisation may require certain information to determine an applicant's eligibility. Instead of directing an applicant to fill in another section based on their status, User Defined Components can be configured to display when an applicant chooses a certain response in another User Defined Component.
1. Create or edit a form.
2. Add or edit a User Defined Component within the form.
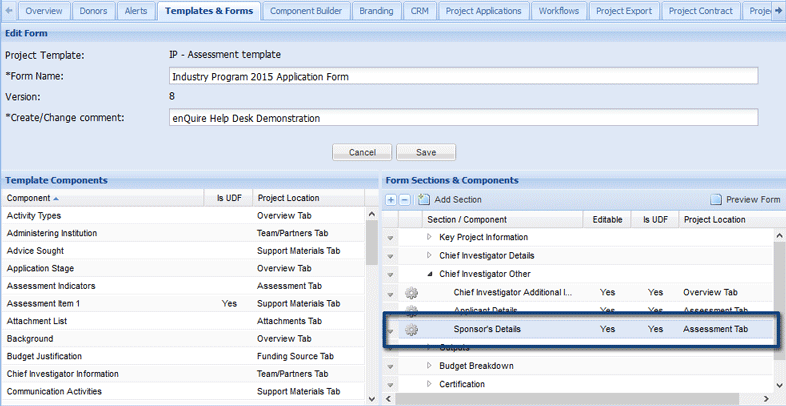
3. Configure the component as required and select Save to retain your changes.
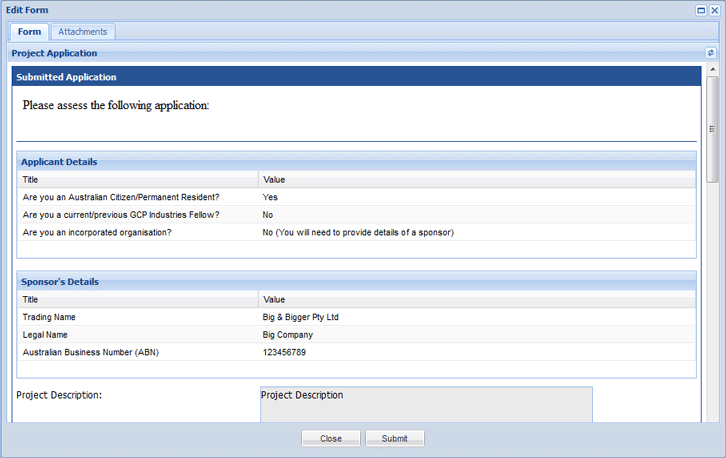
In this example, applicants who are not an incorporated organisation must provide details of a sponsor. The Sponsor Details UDC has been configured to appear when an applicant selects the No option to "Are you an incorporated organisation?" UDF within the Applicant Details UDC.

When the applicant fills in the form, the Sponsor Details UDC will only appear under the conditions we set up.

In this example, the Applicant Details UDC has been configured to be uneditable in an assessment form. This prevents an assessor from editing applicant information.

4. Continue to edit the form and Save to complete the form.