| SYS | GAD* | PFM* | BCM* | BFM* |
|
|
|
|
|
|
* View only access of Workflows
A workflow determines the assessment steps, tasks and people involved to approve a submitted grant application. Your organisation may use different workflows for internal and external applications, or use specific workflows for different rounds. During the course of a round or funding program, you can change the Workflow used to assess applications if assessment requirements change. Existing applications will continue using the old Workflow while new applications will be assessed using the new Workflow.
A Workflow has 3 different step options:
| Step | Description |
|
|
This allows users allocated to this step to update and view a particular assessment form. This step can have a due date and can be configured to permit or restrict users' ability to skip the current Workflow step.. |
|
|
This step will trigger an alert to relevant people. This can be customised to provide them with details about the application. |
|
|
This step provides the ability to assign a particular stage to an application at a point in the workflow. Stages must be set up on the Project Applications tab and the added to a Project Template via the Application Stage smart component before the it can be added to a workflow. |
An example of a simple workflow may be:

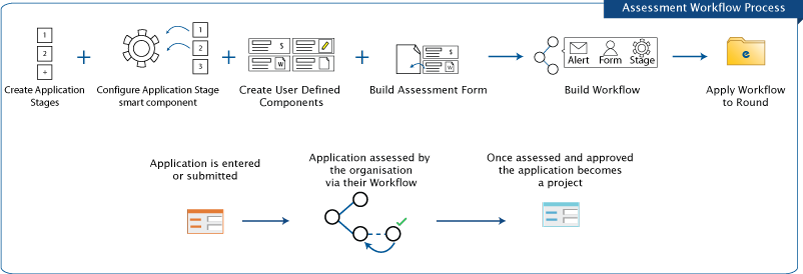
1. My Group > Create Application Stages
Stages are created through the Projects Applications tab and can be used in the legacy Application Approval Workflow and within assessment Workflows.
2. My Group > Configure Application Stage smart component
Project Templates define the application stages available when creating a workflow through the Application Stage smart component. When this is added to a project template, you can set the application stages available to the workflows through a stage step.
3. My Group > Create User Defined Components
Create any User Defined Components (UDCs) and fields you may want to use in your assessment forms. Remember to add these new UDCs to the relevant Project Template.
4. My Group > Create Assessment Forms
Enquire's Form Builder can be used to create assessment forms that are used by internal and external assessors within a workflow. All assessment forms are built based on a Project Template.
5. My Group > Build and Activate Workflow
The Workflows tab allows you to easily customise your assessment workflows integrating your application stages and assessment forms. You can also restrict or provide assessors the ability to skip, reassign or request amendment on Form steps to ensure applications are rigorously assessed. A workflow must be activated before it can be used within a round.
6. Round > Apply Workflow
Workflows can be applied to existing internal or published rounds and will be used to assess any new applications that are entered manually or submitted through your Applicant Portal.
7. Application > Use Workflow
Assigned users can begin assessing applications using the steps defined in the relevant workflow. Assessors can update the workflow by assessing the application and skip, reassign or request amendment for the current workflow step. When the application is assessed, it can be activated as a reportable project.
Application assessment workflows require a Project Template to align with as the template determines the application stages which can be used in a stage step and the Assessment Forms used in a form step.
1. Select My Group from the Home drop down menu.
2. Select the Workflows tab.
3. Select the Create Workflow menu and then the relevant Project Template.

4. Enter the workflow’s name and description.
5. Select Save to create the workflow.

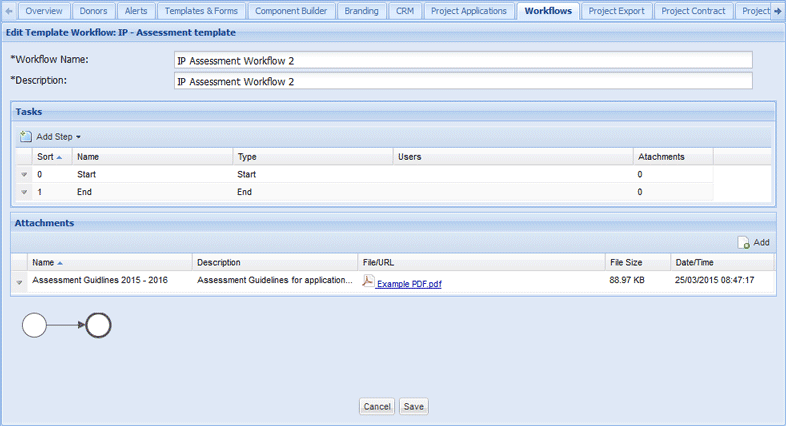
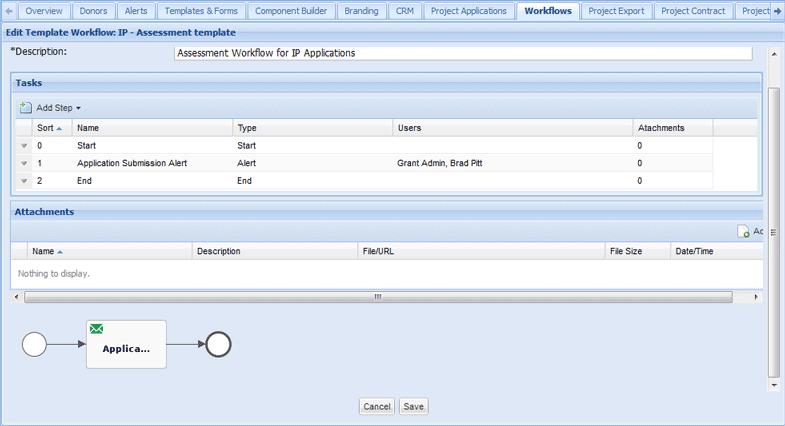
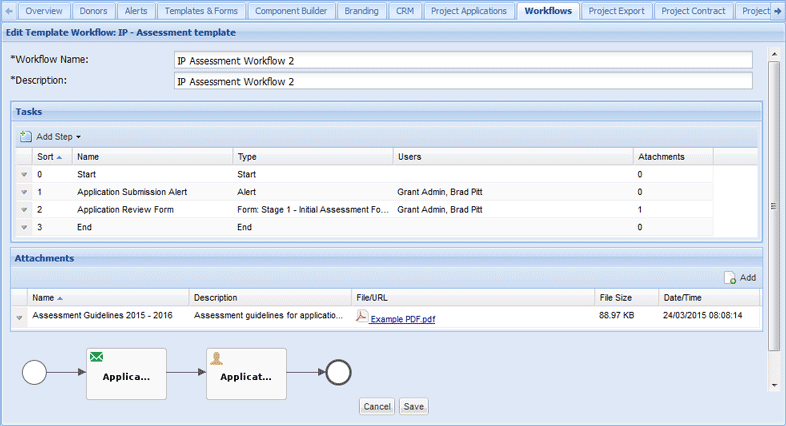
The workflow has now been created and is now in Draft status. You can then edit the workflow to add steps according to your organisation’s requirements. In this example, we will create a basic workflow with an alert, form and stage steps. We will also add an attachment to include in the form step.

6. Select the down arrow next to the workflow and select Edit from the menu.

An alert step will trigger an alert to relevant people at the required time within a workflow. For example, you want to inform the relevant users that an application is ready to be assessed or that the application has reached a certain stage in the workflow.
1. Select Alert from the Add Step drop down menu.

2. Select the Details tab to enter the mandatory details:
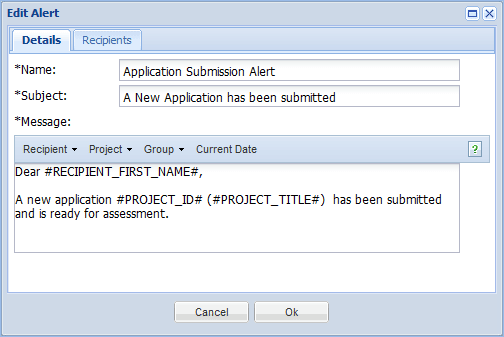
3. Select the Recipients tab to set who the alert will be sent to and then select the Add button.
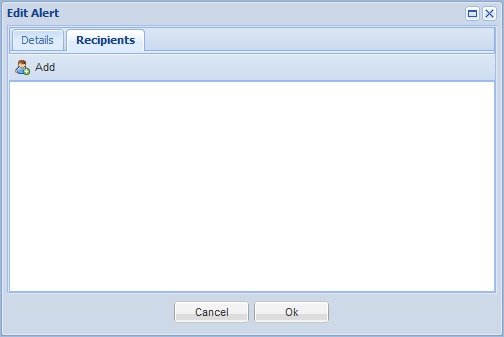
4. Select the checkboxes next to the relevant users' names and then select the Select button.
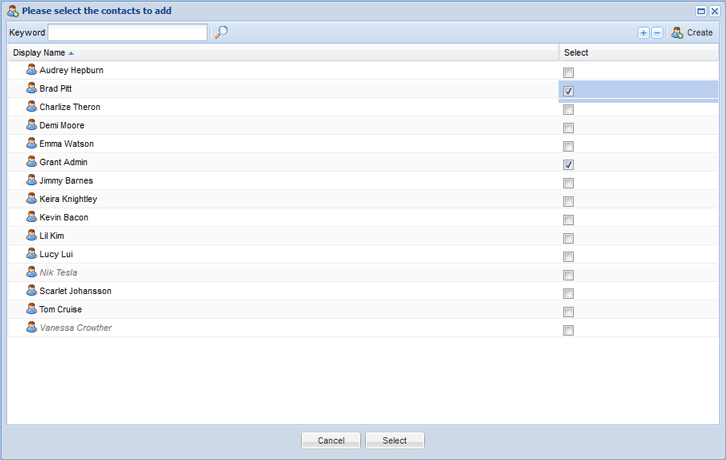
5. The alert’s recipients will now be added.
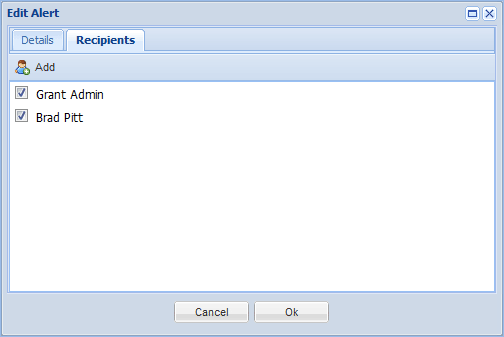
6. Select Ok to create the alert.
The alert will now be part of your workflow. We will now add a form step to the example workflow.
Top of Create Section | Top of Page
Attachments are used in form steps to provide assessors with additional information such as the assessment guidelines or scoring matrices used by your organisation.
1. Select the Add button in the attachments section.

2. Enter the following details:
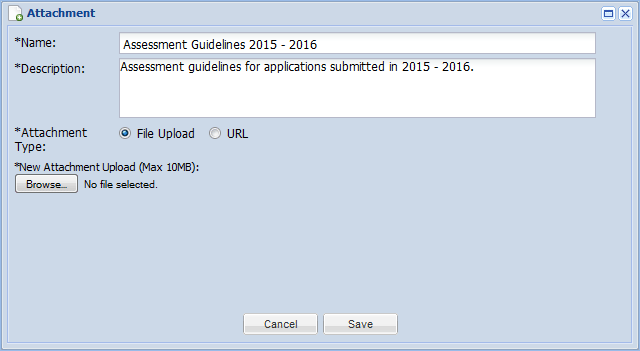
3. To upload a file, select the Browse button and locate the file on your computer.
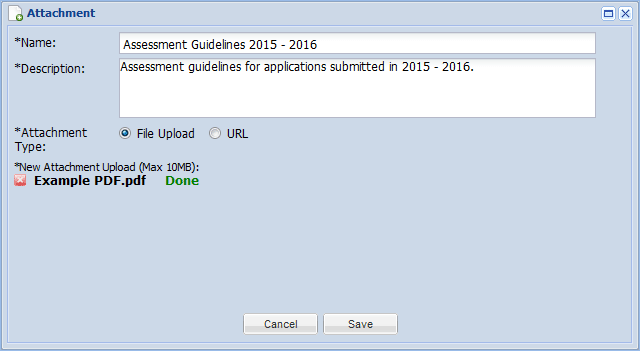
4. To link to an online file, enter the file’s URL.
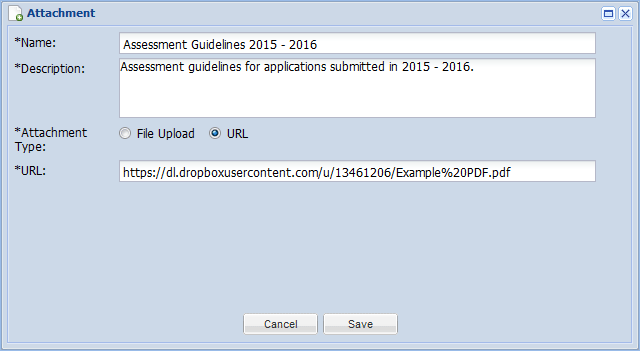
5. Select Save to upload the attachment
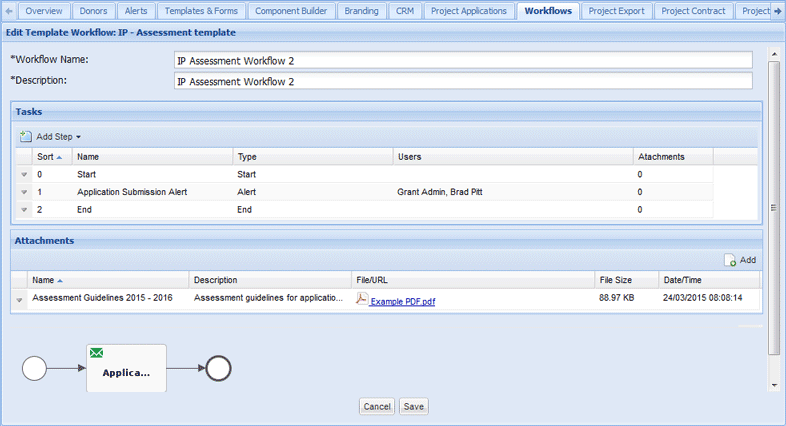
The attachment will now be uploaded. We can now link this attachment to our form step.
Top of Create Section | Top of Page
This step allows users allocated to this step to view and submit a particular assessment form. Assessment forms are set up through the Templates & Forms tab. If assessors need additional documentation, you can upload these to the workflow and assign specific attachments to the step.
1. Select Form from the Add Step drop down menu.

2. Select the Details tab to enter the following information:
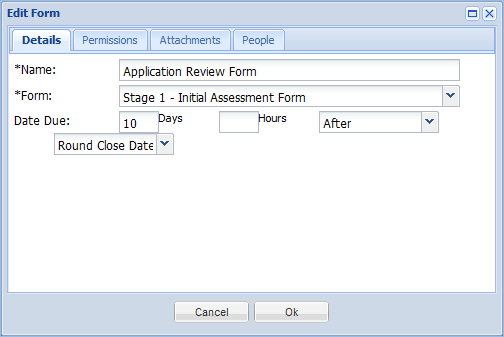
3. Select the Permissions tab to permit or restrict assigned users to do the following:
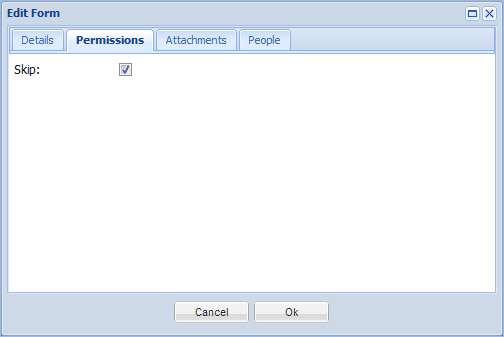
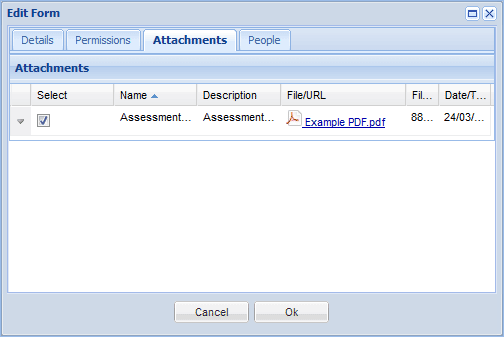
4. Select the Attachments tab to select the attachments that the assessors will use such as assessment guidelines or scoring matrices.
5. Select the checkbox next to the attachments you wish to make available.
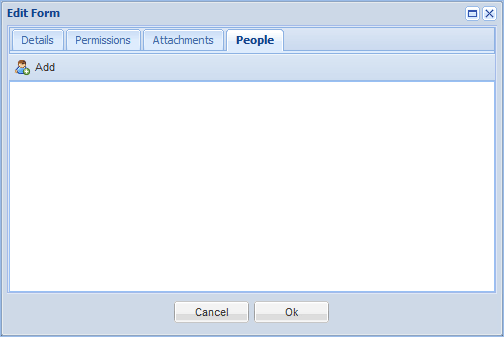
6. Select the People tab to assign users to the step, and then select the Add button
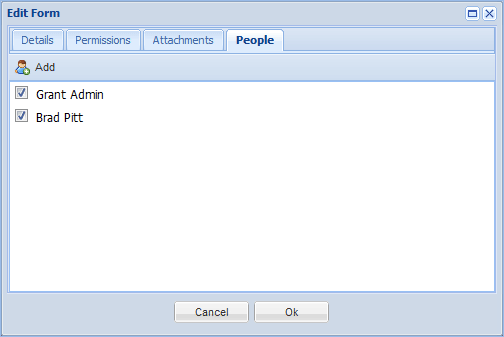
7. Select the checkboxes next to the relevant users and select the Select button to continue.

8. The relevant users will now be assigned to the step.
9. Select Ok to create the Form step.
The form step has now been added to the workflow. We will now add a stage step to this example workflow.
Top of Create Section | Top of Page
This step provides the ability to assign a particular stage to an application at a point in the workflow. For example an application may move from the Initial Assessment stage to the Financial Assessment stage.
A workflow stage can be assigned to an application based on a value within a User Defined Component within an application or assessment form. In this example, an assessor has indicated that the application is ineligible through an UDC.
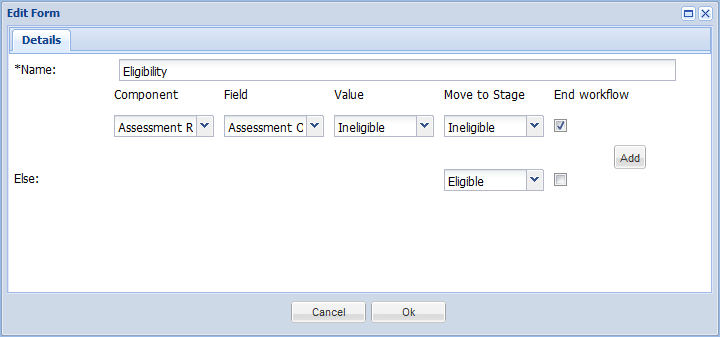
If an application doesn't fit this requirement, it will move from an Eligibility Assessment stage to an Assessment Review stage while an ineligible application cannot progress through the workflow.

Stages must be set up on the Project Applications tab and the added to a Project Template via the Application Stage smart component.
1. Select Stage from the Add Step drop down menu.

2. On the Details tab, name the step and select the component and stage the application will progress to.
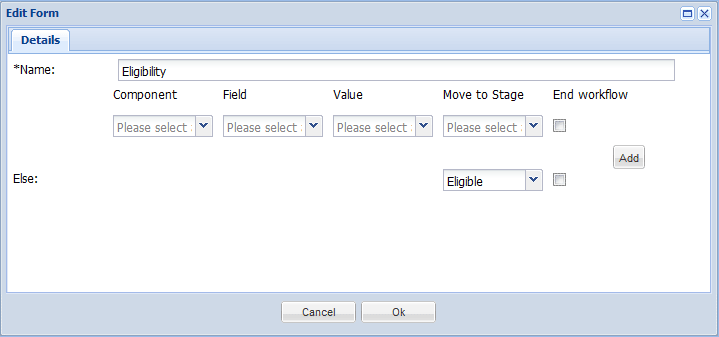
In this example, the application doesn’t need to fulfil a condition to progress to the Eligible stage.
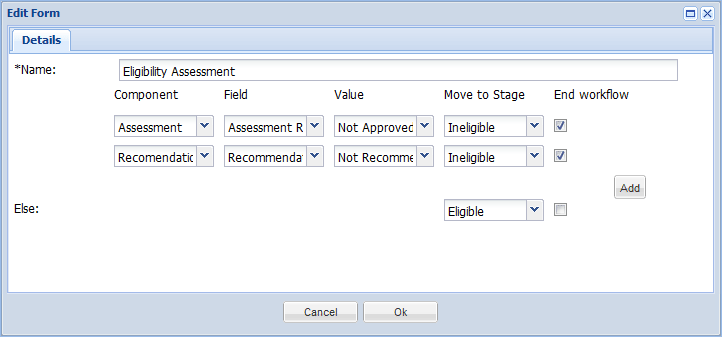
In this example, applications can be processed under the following conditions:
3. Select Ok to create the stage.
The stage step will now be created. The example workflow has now been completed and can now be activated.
4. Select Save to save the workflow.
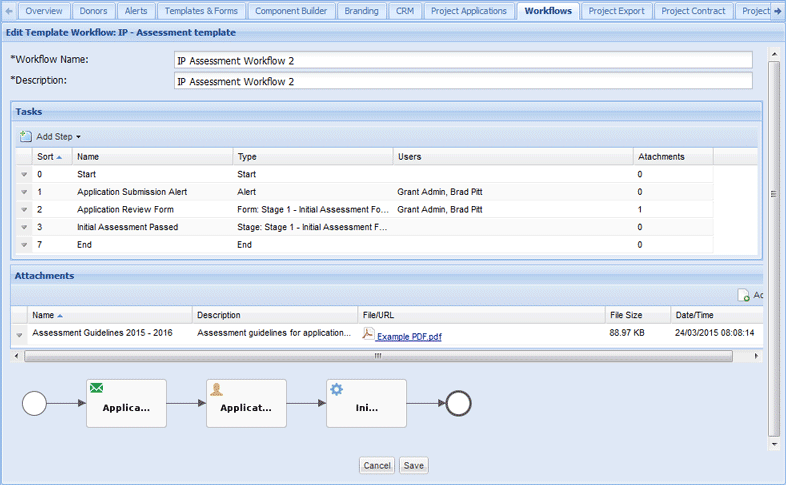
Top of Create Section | Top of Page
Only Workflows in draft status can be edited.
1. Select My Group from the Home drop down menu.
2. Select the Workflows tab.
3. Select the down arrow next to the relevant workflow and select Edit from the menu.

4. You can add, edit and delete the workflow steps and manage the attachments linked to the steps.
5. Select Save when you have edited the workflow to suit your organisation’s requirements.
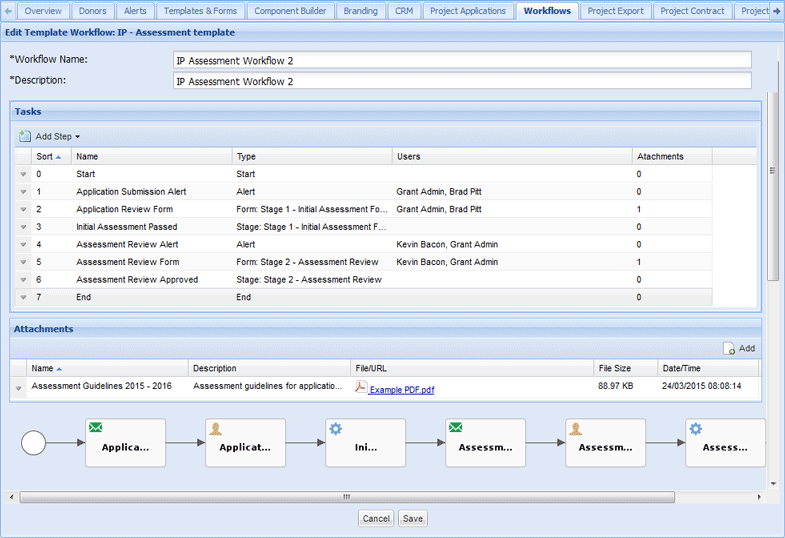
Once activated, a workflow cannot be edited or deleted. If a workflow is no longer required, it can be archived to prevent it from being used.
1. Select My Group from the Home drop down menu.
2. Select the Workflows tab.
3. Select the down arrow next to the relevant workflow and select Activate from the menu.

4. Select Yes when prompted.
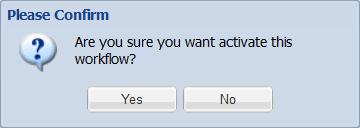
The workflow is now active and can be assigned to a Round to assess applications.

Workflows that are in draft status can be deleted. Active workflows cannot be deleted but can be archived if they are no longer required.
1. Select My Group from the Home drop down menu.
2. Select the Workflows tab.
3. Select the down arrow next to the relevant workflow and select Delete from the menu.

4. Select Yes when prompted.

5. The workflow will now be deleted.

Workflows that are no longer used can be archived and once archived, cannot be viewed or edited.
1. Select My Group from the Home drop down menu.
2. Select the Workflows tab.
3. Select the down arrow next to the relevant workflow and select Archive from the menu.

4. Select Yes when prompted.
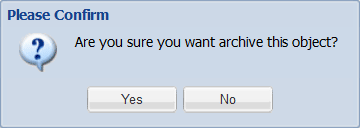
The workflow will now be archived.

Active workflows can be cloned to create new draft workflows.
1. Select My Group from the Home drop down menu.
2. Select the Workflows tab.
3. Select the down arrow next to the relevant workflow and select Clone from the menu.

4. Select Yes when prompted.
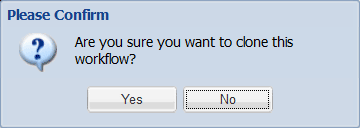
The workflow will now be cloned and can be edited as required.

An alert step will trigger an alert to relevant people at the required time within a workflow. For example, you want to inform the relevant users that an application is ready to be assessed or that the application has reached a certain stage in the workflow.
1. Edit the relevant draft workflow.

2. Select Alert from the Add Step drop down menu.

3. Select the Details tab to enter the mandatory details:

4. Select the Recipients tab to set who the alert will be sent to and then select the Add button.

6. Select the checkboxes next to the relevant users' names and then select the Select button.

7. The alert’s recipients will now be added.

8. Select Ok to create the alert.
The alert will now be part of your workflow.

The form Step allows users allocated to this step to view and submit a particular assessment form. Assessment forms are set up through the Templates & Forms tab. If assessors need additional documentation, you can upload these to the workflow and assign specific attachments to the step.
1. Edit the relevant draftworkflow.

2. Select Form from the Add Step drop down menu.

3. Select the Details tab to enter the following information:

4. Select the Permissions tab to permit or restrict assigned users to do the following:

5. Select the Attachments tab to select the attachments that the assessors will use such as assessment guidelines or scoring matrices.
6. Select the checkbox next to the attachments you wish to make available.

7. Select the People tab to assign users to the step, and then select the Add button

9. Select the checkboxes next to the relevant users and select the Select button to continue.

10. The relevant users will now be assigned to the step.

11. Select Ok to create the form step.
The form step has now been added to the workflow.

This step provides the ability to assign a particular stage to an application at a point in the workflow. For example an application may move from the Initial Assessment stage to the Financial Assessment stage.
A workflow stage can be assigned to an application based on a value within a User Defined Component within an application or assessment form. In this example, an assessor has indicated that the application is ineligible through an UDC.

If an application meets the right condition, it will move from an Eligibility Assessment stage to an Assessment Review stage while an ineligible application cannot progress through the workflow.
Stages must be set up on the Project Applications tab and the added to a Project Template via the Application Stage smart component.
1. Edit the relevant draft workflow.

2. Select Stage from the Add Step drop down menu.

3.On the Details tab, name the step and select the component and stage the application will progress to.
In this example, the application doesn’t need to fulfil a condition to progress to the Eligible stage.

In this example, applications can be processed under the following conditions:

4. Select Ok to create the stage.
The stage step will now be created.

1. Edit the relevant draft workflow.

2. Select the step that you wish to move, and drag it above or below the relevant steps.
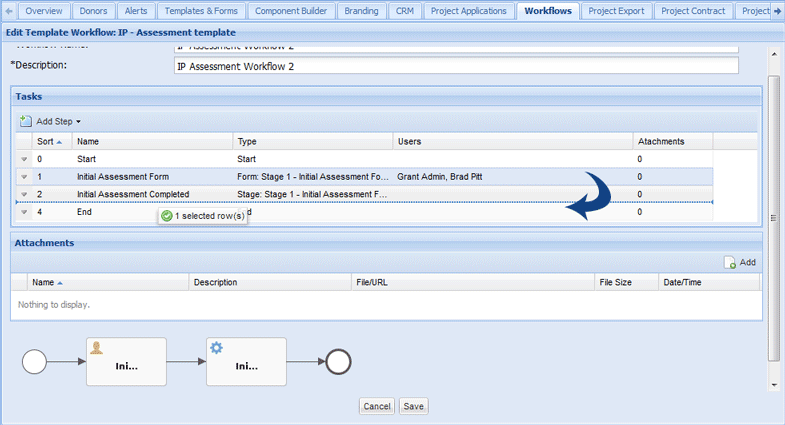
3. The steps will now be reordered.
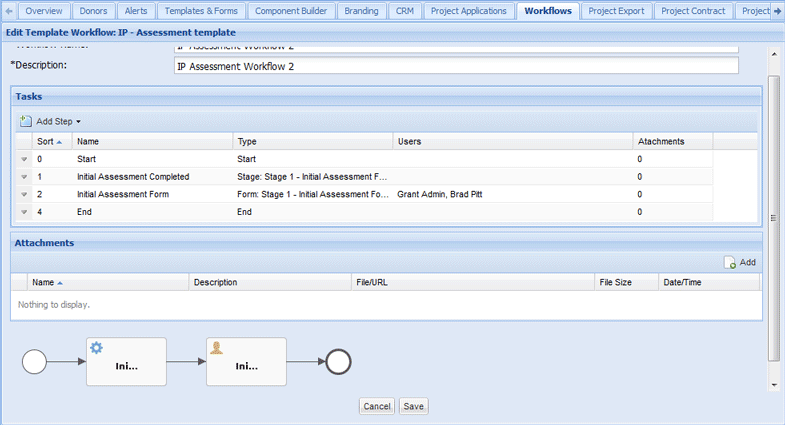
4. Select Save to save the changes to the workflow.
1. Edit the relevant draft workflow.

2. Select the down arrow next to the relevant step and select Edit from the menu.
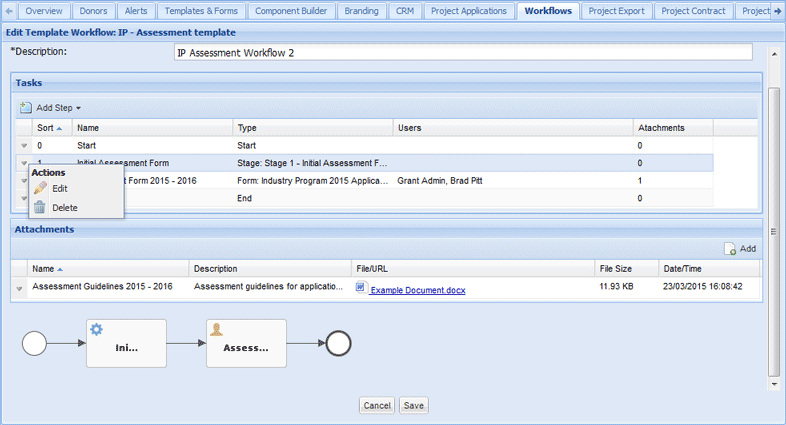
3. Edit the step and select Ok to save your changes.

4. Select Save to save the changes to the Workflow.
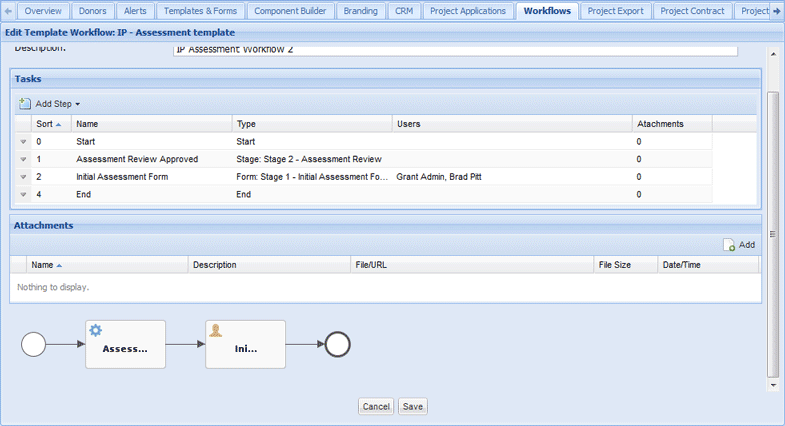
1. Edit the relevant draft workflow.

2. Select the down arrow next to the relevant step and select Delete from the menu.

3. Select Yes when prompted.

The step will now be deleted.
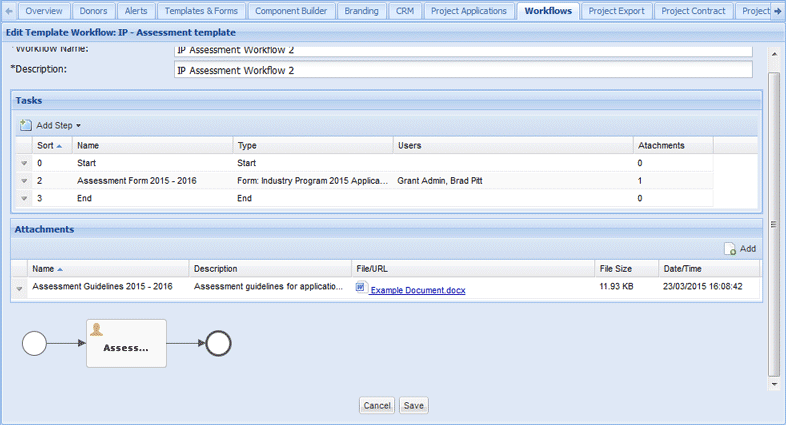
4. Select Save to save the changes to the Workflow.
Attachments are used in Form steps to provide assessors with additional information such as assessment guidelines and scoring matrices.
1. Edit the relevant draft workflow.

2. Select the Add button in the Attachments section.

3. Enter the following details:

4. To upload a file, select the Browse button and locate the file on your computer.

5. To link to an online file, enter the file’s URL.

6. Select Save to upload the attachment
The attachment will now be uploaded.

1. Edit the relevant draft workflow.

2. Select the down arrow next to the relevant attachment and select Edit from the menu.
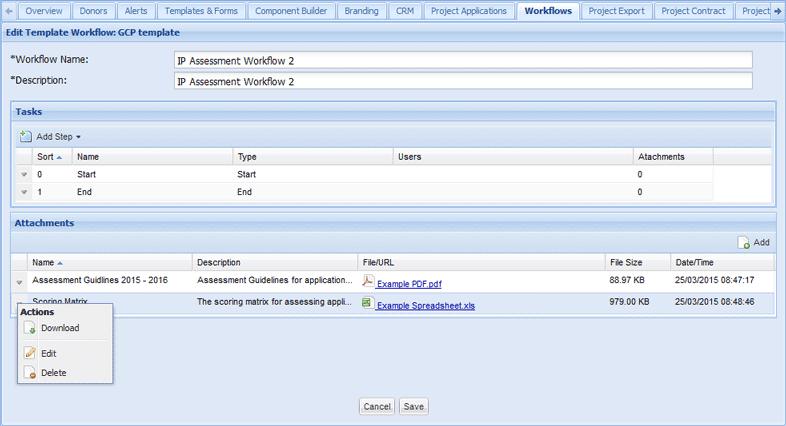
3. Edit the attachment as required and select Save to save your changes.
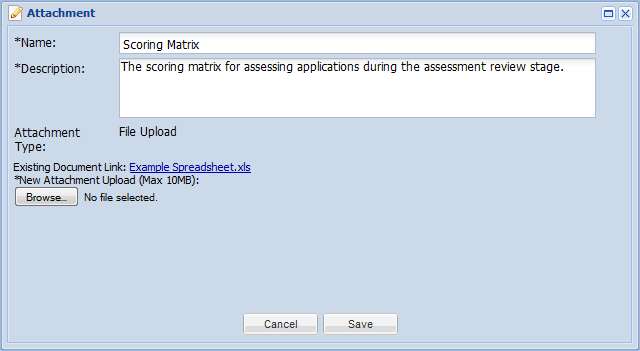
1. Edit the relevant draft workflow.

2. Select the down arrow next to the relevant attachment and select Delete from the menu.

3. Select Yes when prompted.

The attachment will now be deleted.
