You are here: Rounds > Create Rounds
Create Rounds
*As applicable to their Delivery Area
Create Round
Rounds can only be made within active Delivery Areas.
1. Select Create Round under the Delivery Area drop down menu.
Rounds can also be created within a Delivery Area via the Rounds tab. The Delivery Area will automatically be assigned to the round and will not be an available option during creation.
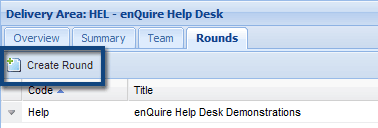
2. Fill in the mandatory Round details:
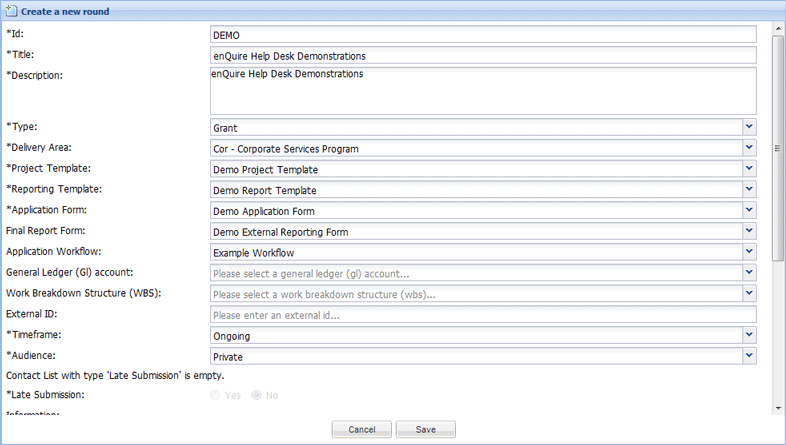
- Round ID - The ID number of the round.
- Round Title - The name of the round.
- Round Description - A description of the round.
- Delivery Area - Select the Delivery Area from the drop down menu.
- Project Template - Select the template for the projects created under the round.
- Report Template - Select from the report templates linked to the project template previously selected.
- Application Form - Select from the forms linked to the project template previously selected.
- Final Report Form - Select from the forms linked to the project template previously selected. The Final Report Form will be used by an applicant to report on the project's progress and outcomes.
- Application Workflow - Select from the assessment workflows linked to the project template you selected.
- Round timeframe - Rounds can have start and end dates and times, or be ongoing (no end date). This is set to ongoing by default.
- Audience - Public allows a round to be made publicly available to external applicants. Private makes the round available to internal users or invited applicants.
Rounds also have optional details:
- General Ledger (Gl) account - The account that all project payments will be linked to, if required by your organisation.
- Work Breakdown Structure (WBS) - The class, cost centre or program that all project payments will be grouped under, if required by your organisation.
- Grant Information - Introductory information about the grant that will be displayed on the Applicant Portal.
3. Select the Save button to create the round.
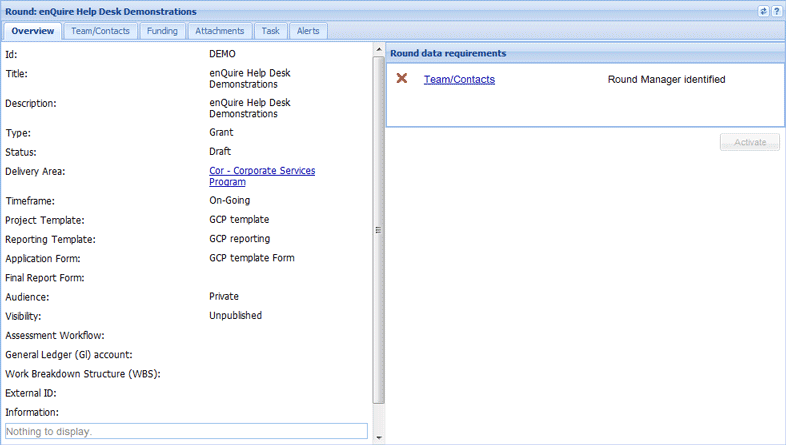
The round has been created and will need to be activated before any projects can be added to it.
Top of Page
Activate Round
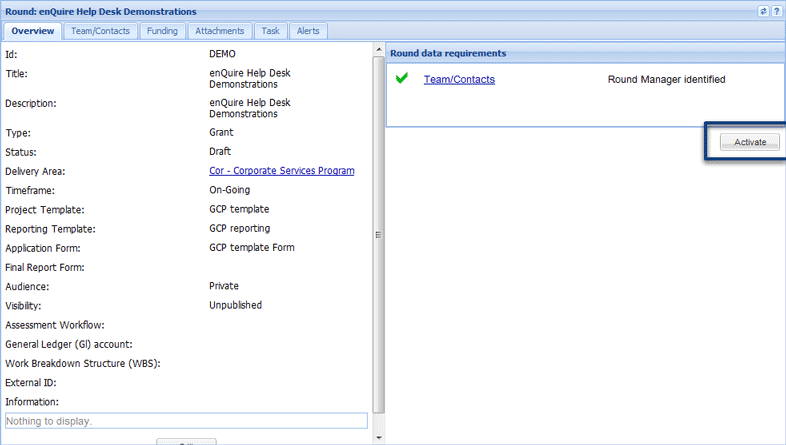
1. Open the relevant round. The Overview tab will indicate the requirements needed to successfully activate the round.
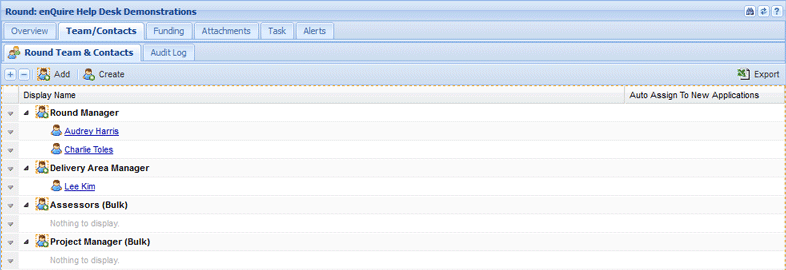
2. Select the Team/Contacts tab.
To assign Round Managers, select either the Add button at the top or the down arrow next to the Round Manager icon. If you select the down arrow, select Add from the menu.
3. Select the checkboxes next to the relevant users, then use the Select button to confirm your choice.
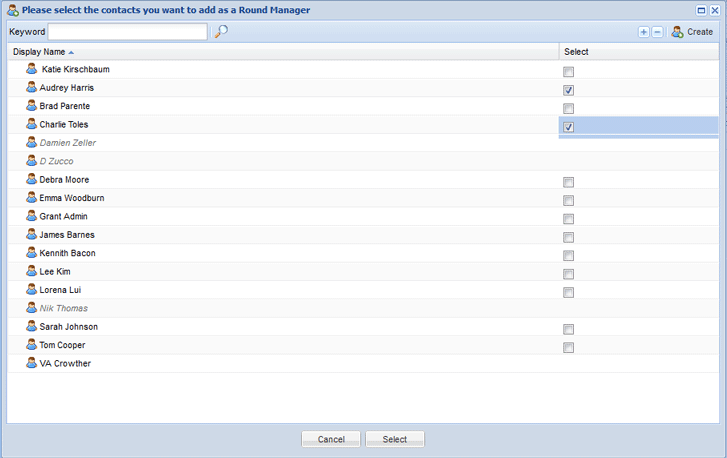
When the Round Managers have been assigned, the round can be activated.
4. Select the Overview tab and then select the Activate button.
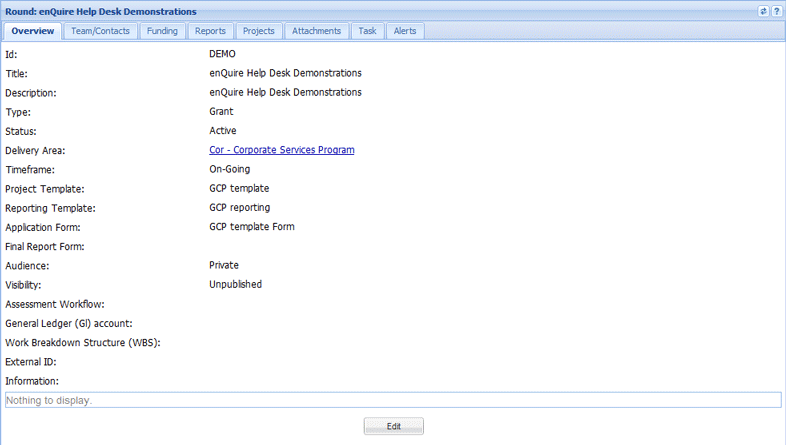
The round is now active. If a round has a Public audience, it can be published onto the Applicant Portal.
Top of Page